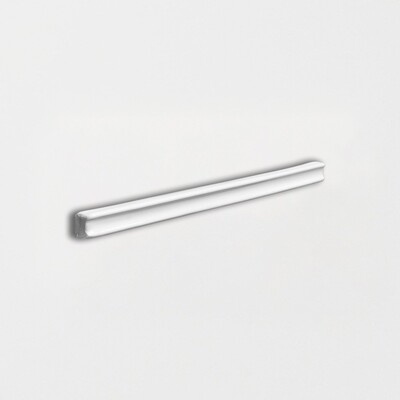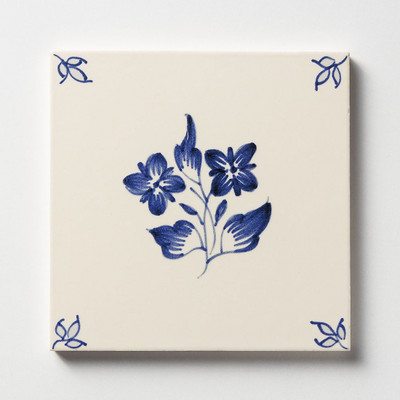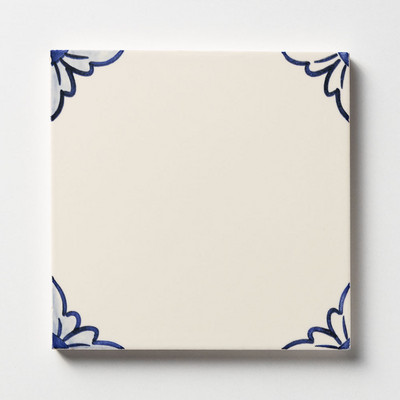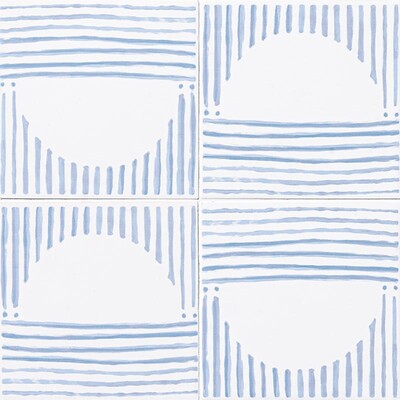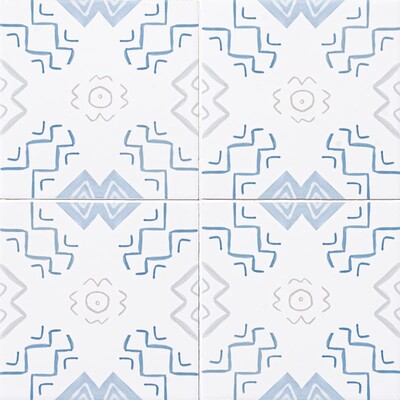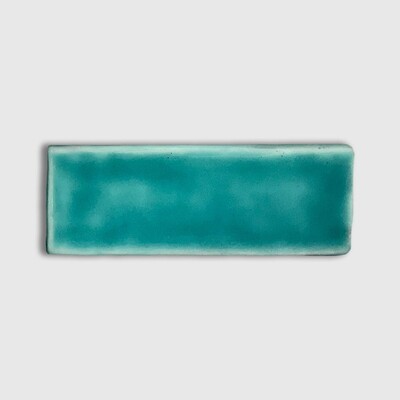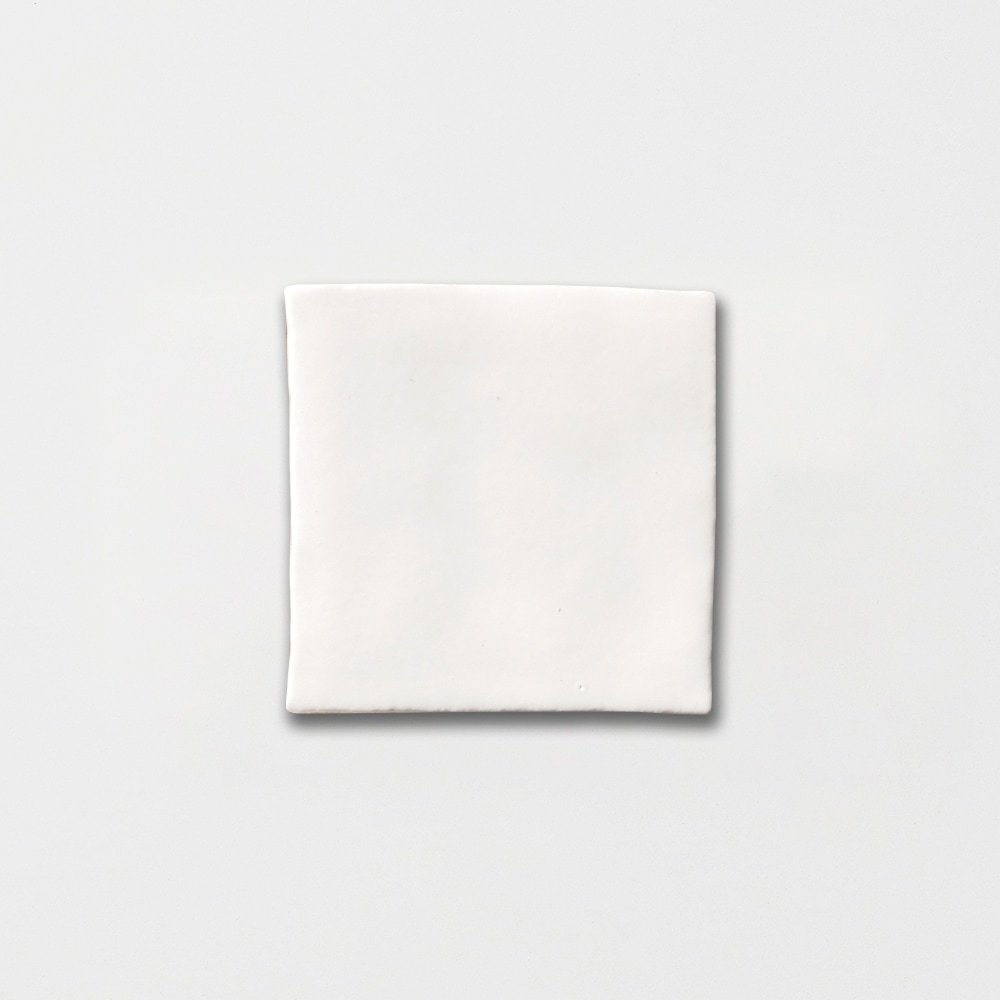
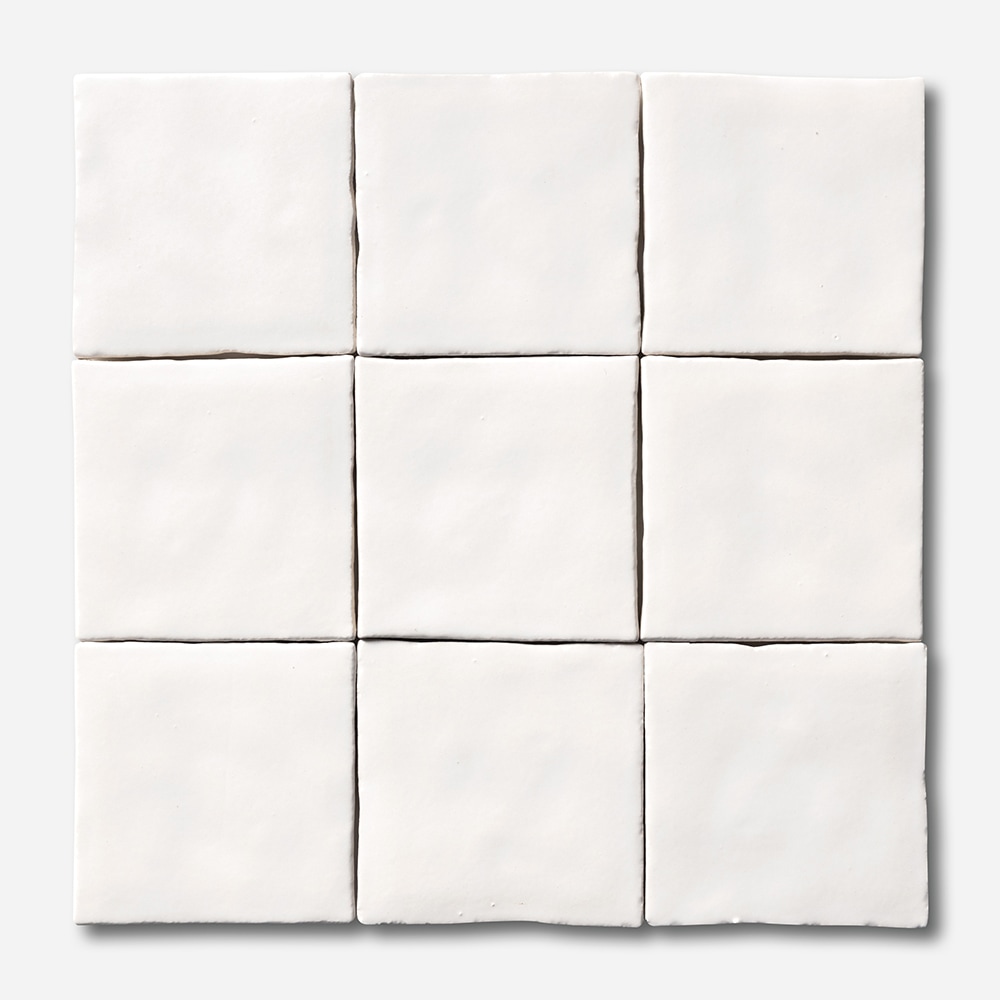
Satin Cotton Ceramic Tile 4"x4"x3/8" Matte finish
Sorry, this product is currently unavailable.
Every lot moves — join the notify list for restock, or browse two close matches from current inventory.
- Est. coverage: 0.111 sqft / per piece•6.67 sqft / per box
Color & Finish Options:
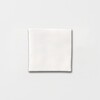
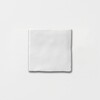

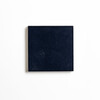
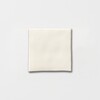

Interior — Residential
Wet Areas
Exterior
Commercial
About Satin Cotton Matte Ceramic Tile
Satin Cotton Matte Ceramic Tile 4x4 offers a clean white ceramic surface in a compact square format. Its solid-color design and matte finish create a quiet, composed look suited to spaces where material simplicity is central to the overall design.
The 4x4 tile size brings a measured grid to wall compositions, whether used across a broad field or in a more focused application. A 3/8-inch thickness gives the tile a substantial profile, while the Satin Cotton color group maintains a soft white appearance.
With V2 color variation, individual tiles may show slight variation in tone. This subtle movement can lend dimension to the finished surface while preserving the restrained character of a solid-color ceramic tile.
This tile is specified for residential and commercial interior walls, including bathroom walls, kitchen walls, living room walls, shower walls, and backsplashes. It is also listed for residential light floors, allowing the same Satin Cotton matte ceramic material to carry through selected interior applications.
Part of the Kasbah Ceramic collection and the Closeout Sale collection, Satin Cotton Matte Ceramic Tile 4x4 provides a square white tile option for coordinated interior surface designs.
Before You Start
7 things to checkGet the most out of your Marble Systems matte ceramic tile by following this guide, written specifically for our matte and softly textured ceramic collections, including patterned designs like Chou Chou alongside solid matte field tile.
- Confirm the tile's rated use (wall, dry floor, or wet floor) on the product page before you start. A matte or lightly textured glaze generally offers better wet slip resistance than a high-gloss finish, which is why matte ceramic tile is often a good fit for floors and other wet-floor applications, but this still depends on the specific tile's rating, so confirm before floor or wet-area use.
- Order 10 to 15% extra material to cover cuts, waste, and future repairs. Ceramic tile is produced and glazed in batches, so a later reorder may not match your original lot exactly.
- Expect natural variation in shade and pattern placement from tile to tile, especially with a two-tone or hand-painted design. Mix tile from several boxes as you set, for a blended, natural-looking field.
- Store cartons flat, indoors, and away from moisture or freezing temperatures until you're ready to install.
- Use a polymer-modified thin-set mortar formulated for ceramic tile, not a pre-mixed mastic or general construction adhesive, except where a manufacturer specifically permits it for small, dry wall installations.
- A matte finish hides minor chips, fingerprints, and light shadowing from lippage better than a glossy one, but the glaze can still scuff if grit or tools are dragged across it, so keep the surface clean and protected while you work.
- If material is face-taped, remove the tape only after the tile has set and the adhesive has begun to firm up.
Confirm Where This Tile Can Go
Not all ceramic tile performs the same way in every location, and finish plays a real role in that. Glazed ceramic tile is rated on the PEI scale (0 to 5) for surface abrasion resistance, and for floor use, wet or dry, DCOF (dynamic coefficient of friction) matters too, since it measures slip resistance underfoot. As a general trend, a matte or softly textured glaze tests with better wet slip resistance than a high-gloss glaze of similar design, which is why matte tile shows up so often on shower floors and bathroom floors. That said, finish alone isn't a guarantee: always check the Usage section of your product page for this specific tile's rating, and confirm suitability with your installer before using it on any floor or in a wet area.
Prepare the Substrate
Tile can be installed over most structurally sound substrates that are clean, flat, dry, and free of wax, dust, grease, and other debris. Repair, patch, and level any damaged or uneven areas. A matte finish is more forgiving than a glossy one when it comes to hiding minor lippage visually, since it doesn't reflect light the same way, but the substrate still needs to be flat and sound for the installation to perform and wear well over time. For walls, use cement backer board or a similarly rated tile substrate in any area exposed to moisture, such as a shower or a backsplash near a sink; standard drywall is appropriate only in dry wall areas. For wet installations, install a waterproofing or vapor-management membrane behind the tile, following the membrane manufacturer's instructions. Remove moldings, trim, and appliances that would interfere with installation, and undercut door jambs so tile can slide beneath them.
Plan the Layout
Mark the center point of opposing walls and snap chalk lines that intersect at the center of the room or wall field, checking that they're perfectly square. Dry-lay a row of loose tile with spacers along both lines to see how the cuts fall at the edges; if you'll end up with slivers narrower than half a tile, shift the layout by half a tile width to balance the field.
If your matte tile has a pattern, like the scalloped Chou Chou design, dry-lay a larger section first, ideally a few rows in both directions, so you can see how the pattern repeats and lines up before any adhesive goes down. This is especially useful for two-tone or hand-painted patterns, where a small shift in orientation can be much more noticeable across a full wall than it is in a single tile.
Choose and Mix the Right Mortar
Ceramic tile bonds best with a polymer-modified thin-set mortar (look for one meeting ANSI A118.4 or A118.15 performance standards); these offer better flexibility and bond strength than an unmodified, dry-set mortar. Save unmodified thin-set for situations where a waterproofing or crack-isolation membrane manufacturer specifically calls for it. Choose a white thin-set under light-colored matte tile to avoid any gray show-through, and mix only what you can use in about 30 minutes, following the manufacturer's water ratio exactly, since too much water weakens the bond.
Cut the Tile
Mark cuts with a pencil or fine felt-tip marker. A snap or score-and-snap cutter works well for straight cuts on most matte ceramic; a wet saw with a tile-rated blade gives cleaner results for precise or curved cuts, and tile nippers can chip away small notches around outlets or fixtures. A matte glaze tends to hide small chip marks along a cut edge better than a glossy one would, but it's still worth cutting with the glazed face up and easing any sharp edges with a rubbing stone for a clean, safe result.
Set the Tile
Spread mortar with the flat side of the trowel, then comb it into ridges with the notched side held at roughly a 45-degree angle. Don't cover your layout lines, and don't spread more mortar than you can tile within about 15 minutes. Back-butter larger-format tile, adding a thin layer of mortar to the tile back as well, to improve coverage and reduce hollow spots.
Set each tile with a slight push or gentle twist, not a slide, and insert spacers to keep joints even. Leave a perimeter gap of about 1/4" between the tile field and adjoining walls or fixed surfaces to allow for natural movement. Wipe excess mortar from the tile face as you go with a damp sponge; a matte finish won't show smears as obviously as a glossy one while you're working, but dried mortar residue is still easier to remove sooner rather than later. Once a section is set, tap tiles gently with a rubber mallet to bed them evenly, and check for lippage across joints with a straightedge, since a matte surface can hide a height difference visually even where it's still present underfoot. Avoid walking on floor installations for at least 24 hours.
Grout the Joints
Wait at least 24 hours (or per your mortar's instructions) before grouting. Use sanded grout for joints of about 1/8" or wider, and unsanded grout for narrower joints. Mix only what you'll use within about 30 minutes.
Spread grout diagonally across the joints with a rubber float held at a 45-degree angle to pack it fully, then hold the float closer to 90 degrees to scrape excess from the tile face. Let the grout firm up for 15 to 20 minutes, then wipe the surface with a clean, damp sponge, rinsing frequently, until the joints are smooth and even. A matte or softly textured glaze can hold grout haze a little more stubbornly than a smooth, glossy one, since fine residue can settle into the texture, so plan on a few extra sponge passes and a final buff with a soft, dry cloth once a light haze forms. If your tile has noticeable texture, a grout release or pre-sealer applied before grouting can make cleanup considerably easier; ask your grout or setting-materials supplier which product suits your specific tile. A mild, diluted vinegar solution can help lift stubborn haze from a smooth matte glaze; test it in an inconspicuous spot first, and avoid vinegar on any tile with a raw, unglazed, or heavily textured face, since acid can sit in the texture and be harder to rinse away.
Cure and Care for the Finish
Matte ceramic tile itself doesn't need to be sealed; the glaze is already the protective, water-resistant layer. What typically does need attention is the grout: most cementitious grout benefits from a penetrating grout sealer once fully cured, generally around 2 to 3 weeks after installation, to help resist staining. Hold off on heavy foot traffic for about 72 hours after grouting, and don't apply any sealer before the grout has fully cured.
Once everything is cured, clean matte ceramic tile with a pH-neutral cleaner and a soft cloth or mop. A matte finish is naturally good at hiding fingerprints, water spots, and light everyday scuffing, which makes it a low-maintenance choice day to day. Avoid abrasive scouring pads and harsh scrubbing, though; repeated abrasive cleaning can slowly burnish small areas of a matte glaze, leaving an uneven, patchy sheen over time.
This guide offers general installation information for matte ceramic tile. Actual requirements vary by project, substrate, and location. Marble Systems is not responsible for claims resulting from these general guidelines. Always work with a qualified professional tile installer and use setting materials suited to your specific project.