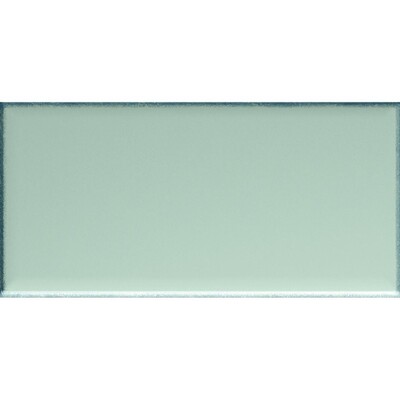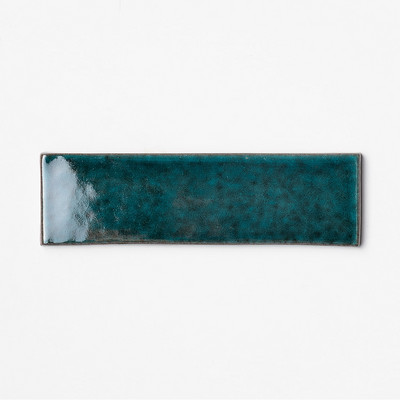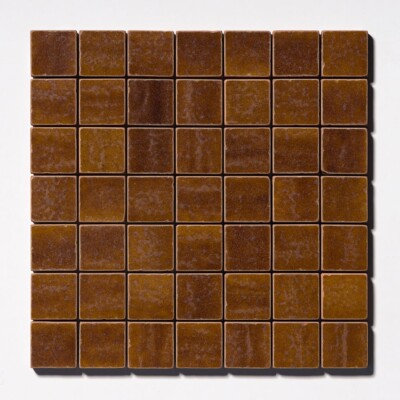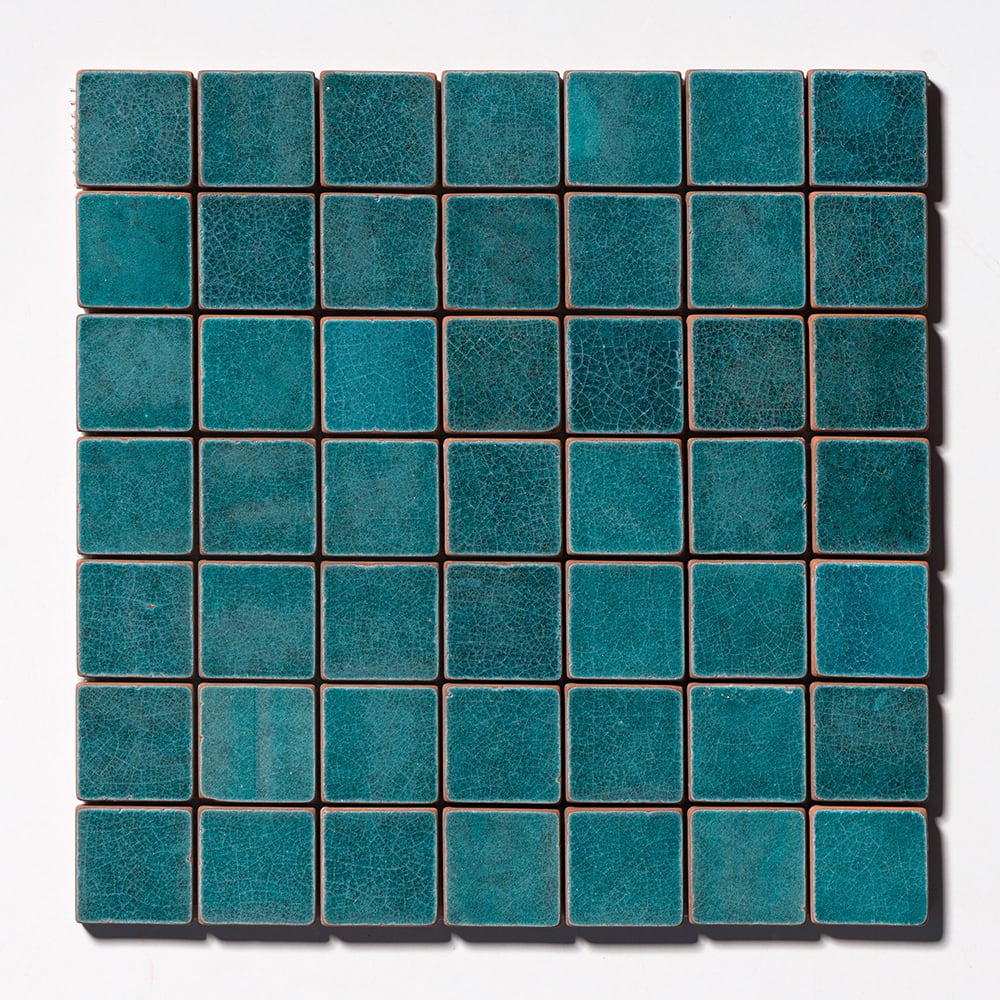
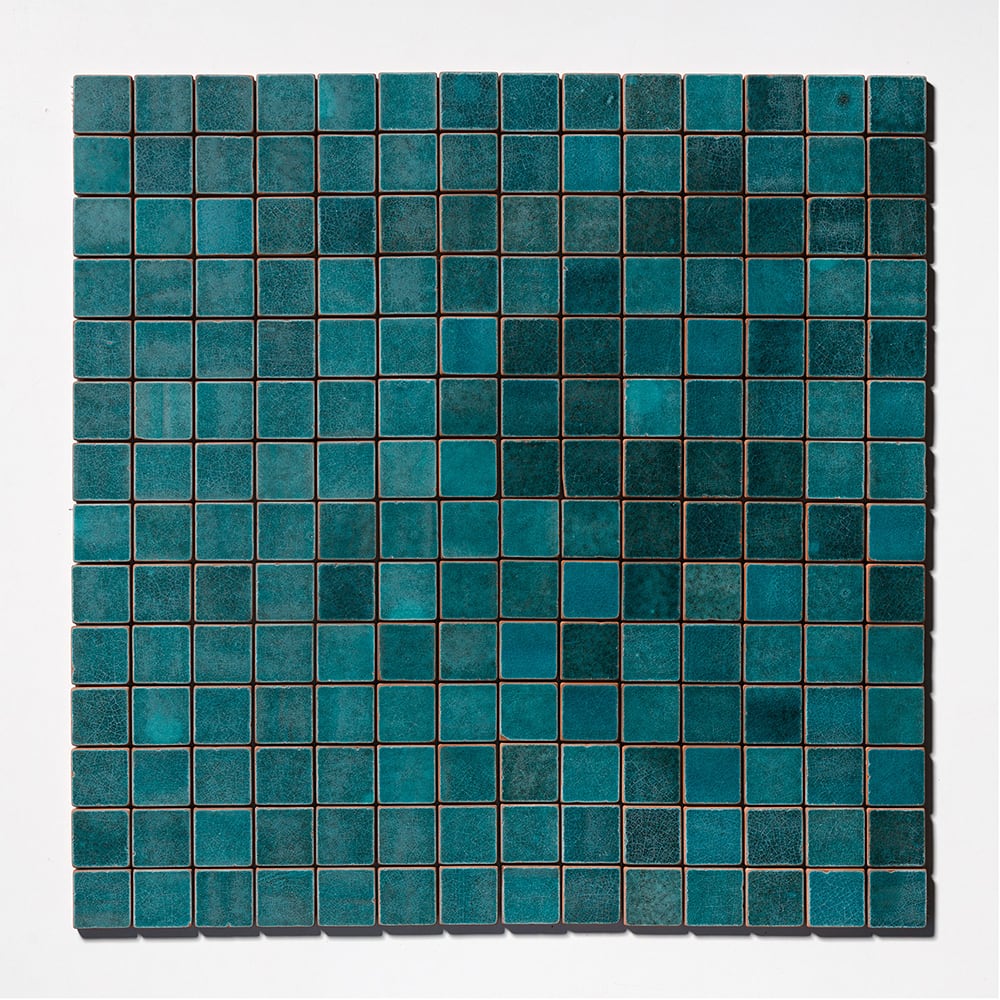
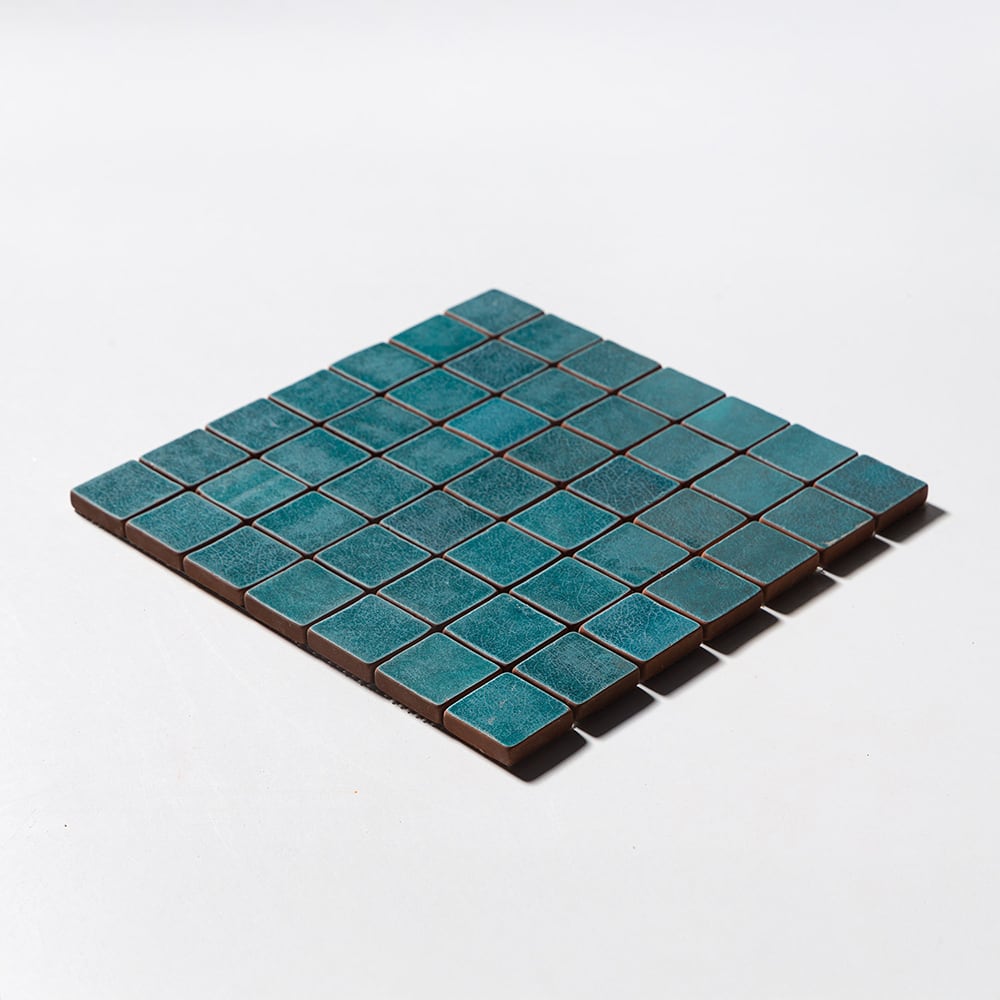
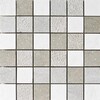
Aquamarine 2x2 Terracotta Mosaic 12"x12"x3/8" Tumbled finish
- Sold by the box — quantity rounds up automatically.
- Est. coverage: 1 sqft / per piece•6 sqft / per box
Color & Finish Options:
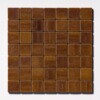
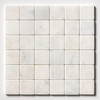
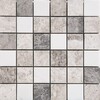

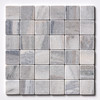
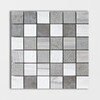
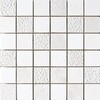
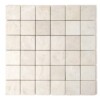


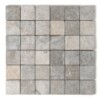
Interior — Residential
Wet Areas
Exterior
Commercial
About Aquamarine Tumbled 2x2 Terracotta Mosaic
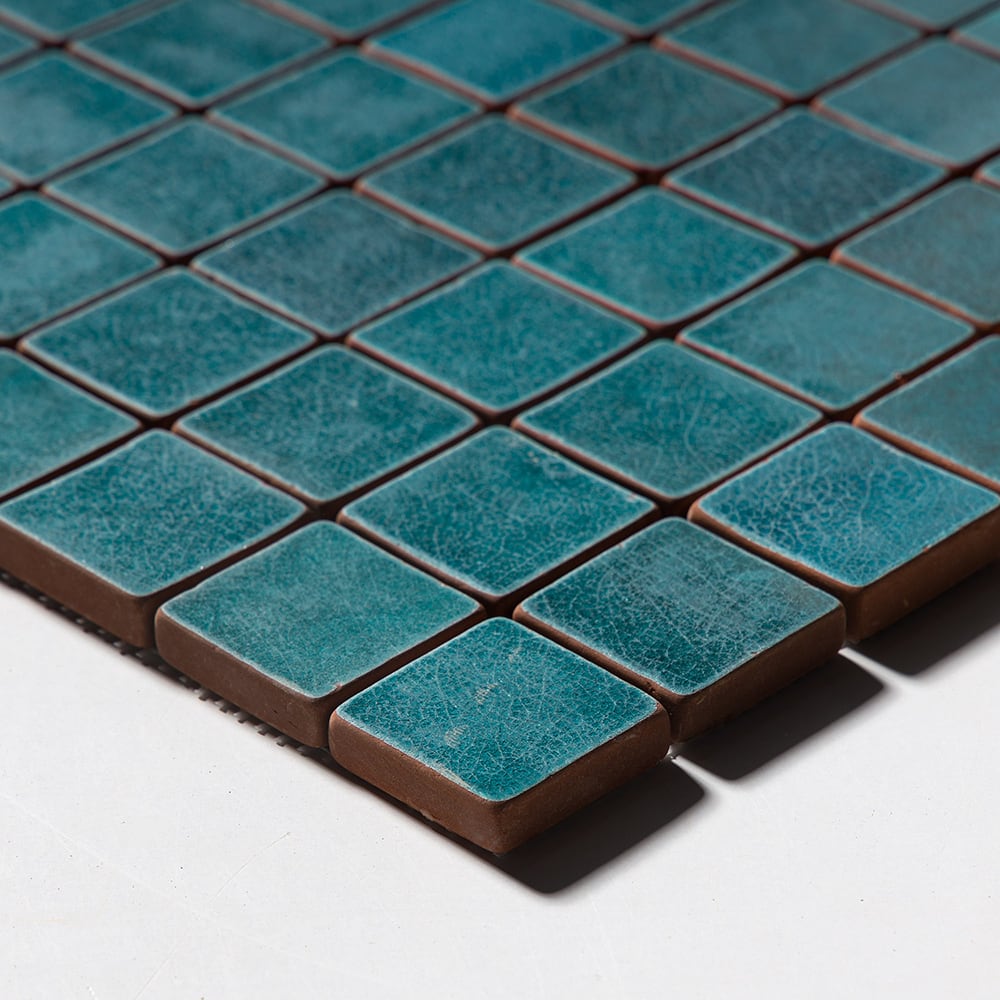
Aquamarine Tumbled 2x2 Terracotta Mosaics 12x12 bring a distinctive green presence to tile installations. Made from terracotta, this mosaic is composed in a 2x2 square design within a 12x12 format. Its tumbled finish and rustic style give the surface an intentionally relaxed, textural character.
The aquamarine color group offers an expressive option for spaces that call for color without departing from a natural material palette. Straight-cut edges establish a clean grid across the individual square pieces, creating visual order alongside the softened appearance of the tumbled finish.
At 3/8 inch thick, these terracotta mosaics can be used across a range of wall and floor applications. Listed uses include residential and commercial interior walls, shower walls, outdoor walls, backsplashes, residential interior floors, residential light floors, and commercial interior floors.
This mosaic is suited to bathroom, kitchen, living room, and outdoor areas. The repeated small-scale squares can create an allover field of aquamarine green or provide a focused material detail within a larger tile composition.
Part of the Closeout Sale collection, Aquamarine Tumbled 2x2 Terracotta Mosaics 12x12 combine a square mosaic format with the organic visual character of tumbled terracotta.
Before You Start
7 things to checkGet the most out of your Marble Systems natural terracotta tile by following this guide, written specifically for our unglazed, handmade terracotta collections, including Cotto Med, Hand Made, and Reclaimed terracotta tile.
- Confirm the tile's rated use on the product page before you start, and if you're installing outdoors in a climate with freezing winters, confirm this specific product's freeze-thaw suitability with your sales rep first. Not all natural terracotta is rated for exterior freeze-thaw exposure.
- Let the tile acclimate. Unpack the cartons and let the tile sit in the room where it will be installed for 24 to 48 hours before you begin, so it can adjust to the space's temperature and humidity.
- Order at least 10 to 15% extra material. Handmade terracotta has more piece-to-piece size and thickness variation than machine-made tile, so plan for extra cuts, blending, and future repairs.
- Expect real variation in color, tone, and surface texture, tile to tile and even within a single piece. This is a defining feature of handmade terracotta, not a flaw. Blend tile from several cartons as you lay it out, for a natural, even-looking field.
- Because pieces vary slightly in size and thickness, plan for a wider grout joint than you'd use with machine-made ceramic, and back-butter each tile to help even out thickness differences.
- Natural terracotta is porous and unsealed as it arrives. It needs to be sealed before grouting to prevent staining, sealed again after grouting, and resealed periodically to stay protected. Don't grout unsealed terracotta.
- Handle tile carefully while cutting and setting; the edges of handmade terracotta can chip more easily than dense porcelain or ceramic.
Confirm Suitability and Let the Tile Acclimate
Because it's unglazed, terracotta doesn't carry a PEI rating the way glazed ceramic does; PEI measures glaze wear, and there's no glaze here to test. Instead, check the Usage section of your product page for wall, floor, and wet-area suitability, and talk to your installer about the right setting materials for your specific application. If you're planning an outdoor installation anywhere that sees freezing temperatures, confirm this product's freeze-thaw performance before you commit; porous, unsealed clay can be vulnerable to cracking if moisture trapped inside it freezes, and not every terracotta product is rated for that exposure. Once you've confirmed the tile is right for your project, bring the cartons into the installation space and let them sit unopened, or loosely opened, for 24 to 48 hours before you start, so the tile can adjust to the room's conditions.
Prepare the Substrate
Tile can be installed over most structurally sound substrates that are clean, flat, dry, and free of wax, dust, grease, and other debris. Repair, patch, and level any damaged or uneven areas. Terracotta tends to be thicker and heavier than glazed ceramic, so for larger installations, confirm your subfloor can support the added weight. For walls, use cement backer board or a similarly rated substrate in any area exposed to moisture. For wet interior areas or exterior installations, install a waterproofing membrane behind the tile, since terracotta's porosity means it relies more heavily on what's beneath and around it to manage moisture. Remove moldings, trim, and appliances that would interfere with installation, and undercut door jambs so tile can slide beneath them.
Plan the Layout and Grout Joint Width
Mark the center point of opposing walls and snap chalk lines that intersect at the center of the room or wall field, checking that they're perfectly square. Dry-lay a section of tile with spacers along both lines, mixing pieces from several cartons so you can see how the color and size variation blends across the field before anything is set. Because handmade terracotta isn't perfectly uniform, plan on a wider grout joint than you'd use for machine-made ceramic; this helps the installation absorb natural size differences between pieces rather than fighting them. Your specific tile's recommended joint width may be noted on the product page, or your installer can advise based on the piece-to-piece variation they see when they lay it out.
Choose the Right Mortar
Given terracotta's weight, thickness, and irregularity, many installers reach for a large-and-heavy-tile mortar (look for one meeting ANSI A118.4 or A118.15 performance standards) rather than a standard thin-set, since these mortars are formulated to support more weight and bridge more variation in tile thickness. Back-butter every tile, adding a layer of mortar to the tile back as well as the substrate, to fill voids caused by an uneven back surface and to help even out thickness differences between pieces. Because terracotta is highly absorbent, some installers lightly dampen the back of the tile with a wet sponge just before setting, so the tile doesn't pull moisture out of the mortar too quickly and shorten its working time; ask your mortar manufacturer or supplier whether this is recommended for your specific product.
Seal Before Grouting
This is the step that has no equivalent in a ceramic installation. Because terracotta is unglazed and porous, grout pigment and moisture can stain it permanently if the tile isn't protected first. Before grouting, apply a penetrating grout-release sealer, or an initial coat of your terracotta sealer if the manufacturer recommends using it this way, to the face and edges of each tile, following the product's instructions. Give it time to cure, generally at least a day or two, and keep the tile protected from dust, spills, and foot traffic in the meantime. Never grout unsealed terracotta; once staining sets into the raw clay, it's very difficult to remove.
Cut the Tile
Mark cuts with a pencil or fine felt-tip marker. A wet saw with a tile-rated blade gives the cleanest, most controlled cut on terracotta and is generally the safest choice, since handmade terracotta can chip or crumble at the edge more readily than dense porcelain or ceramic. Tile nippers can handle small notches around outlets or fixtures. Ease any sharp or rough cut edges with a rubbing stone.
Set the Tile
Spread mortar with the flat side of the trowel, then comb it into ridges with the notched side held at roughly a 45-degree angle, using the trowel size recommended on your mortar's packaging for a tile of this weight and thickness. Don't cover your layout lines, and don't spread more mortar than you can tile within about 15 minutes. Set each tile with a slight push or gentle twist, not a slide, and use spacers sized for your planned joint width. Because handmade terracotta varies more in thickness than machine-made tile, check regularly with a straightedge across joints and adjust the mortar bed under individual pieces as needed to keep the surface level. Leave a perimeter gap of about 1/4" between the tile field and adjoining walls or fixed surfaces. Wipe excess mortar from the tile face and joints as you go. Avoid walking on the installation for at least 24 hours, or longer if your specific mortar calls for it.
Grout the Joints
Wait at least 24 hours, or per your mortar's instructions, before grouting. Sanded grout is typical for the wider joints common with terracotta. Mix only what you'll use within about 30 minutes. Spread grout diagonally across the joints with a rubber float held at a 45-degree angle to pack it fully, then hold the float closer to 90 degrees to scrape excess from the tile face. Because your tile has already been sealed, cleanup is generally easier than it would be on raw terracotta, but don't let grout sit any longer than usual; wipe the surface with a clean, damp sponge, rinsing frequently, until the joints are smooth and even. Let dry, then buff away any remaining haze with a soft, dry cloth.
Seal Again, and Reseal Over Time
Once the grout has cured, generally about 24 hours after cleaning, apply your terracotta sealer's final coat or coats across the whole surface, tile and grout together, following the manufacturer's instructions for number of coats and cure time. This second sealing is what gives natural terracotta its long-term resistance to stains and moisture, and, depending on the product, a warm, gently enhanced finish. Hold off on heavy foot traffic until the sealer has fully cured. From there, plan to reseal the floor every 2 to 3 years, or more often in high-traffic or wet-prone areas, since terracotta's protection comes from the sealer rather than from the clay itself. Clean day to day with a pH-neutral cleaner made for sealed natural surfaces, sweep or dust-mop regularly to keep grit from wearing the surface, and avoid harsh acidic or abrasive cleaners, which can strip the sealer and leave the tile exposed.
This guide offers general installation information for natural terracotta tile. Actual requirements vary by project, substrate, climate, and location. Marble Systems is not responsible for claims resulting from these general guidelines. Always work with a qualified professional tile installer and use setting and sealing materials suited to your specific project.