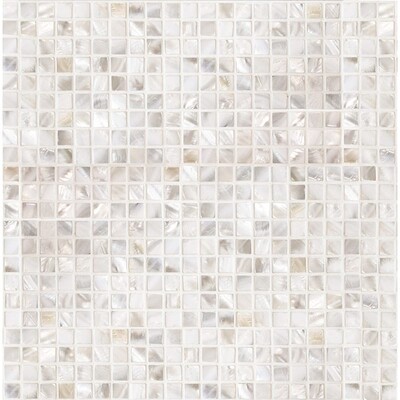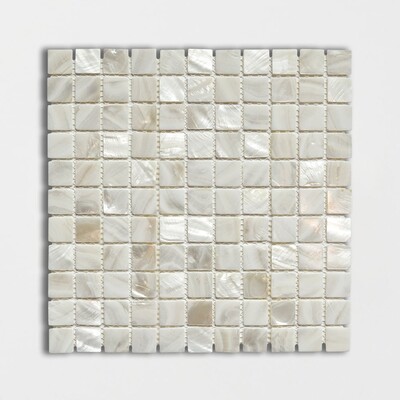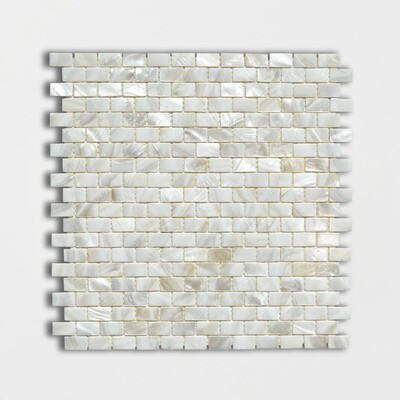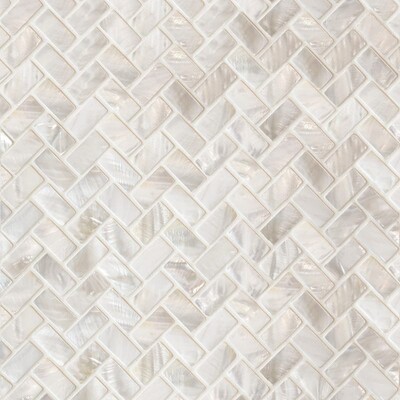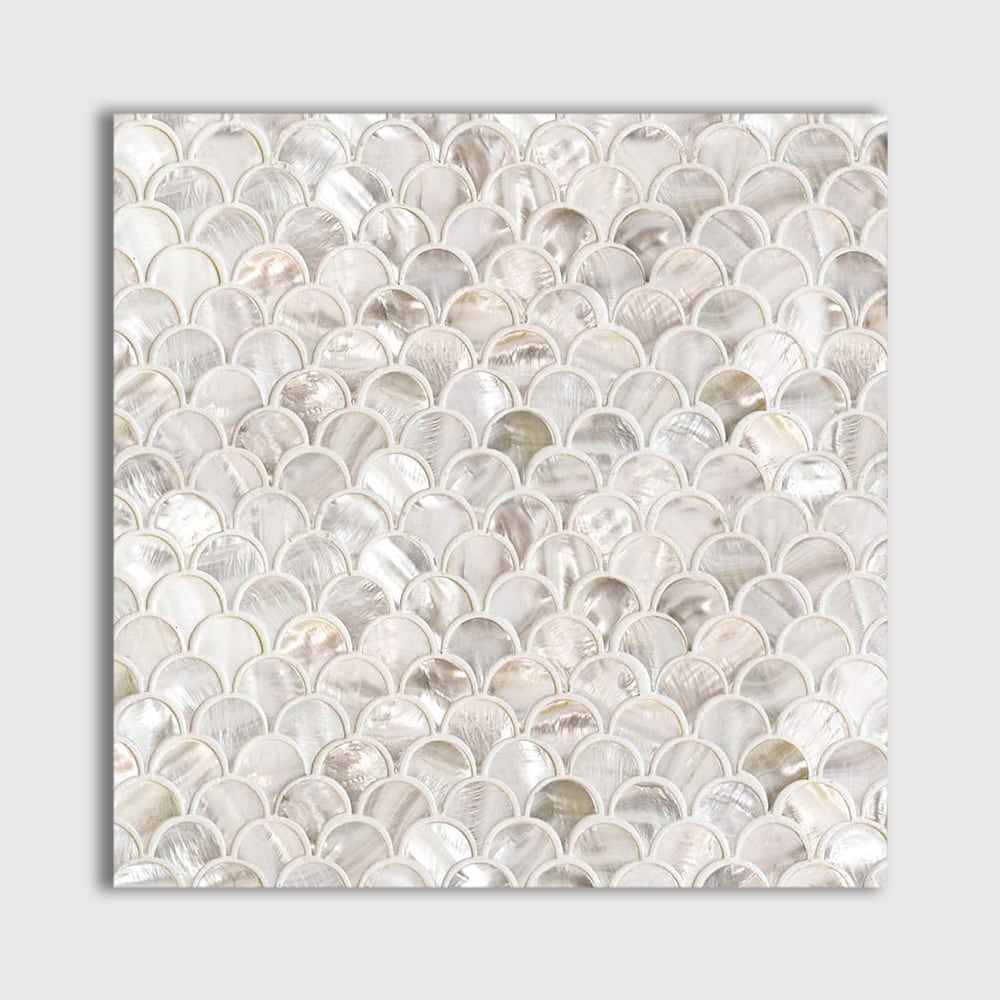

Mother Of Pearl Scallop Iridescent Shell Mosaic 12"x12"x5/64" Polished finish
Sorry, this product is currently unavailable.
Every lot moves — join the notify list for restock, or browse two close matches from current inventory.
- Est. coverage: 0.97 sqft / per piece•9.7 sqft / per box
Size or Shape Options:
This product is sold through our exclusive dealers and Marble Systems showrooms only. Enter your ZIP code to find available showrooms and dealers near you.
Interior — Residential
Wet Areas
Exterior
Commercial
About Mother Of Pearl Polished Scallop Iridescent Shell Mosaic
Mother Of Pearl Polished Scallop Iridescent Shell Mosaics 12x12 brings the luminous character of iridescent shell to a modern scallop design. The white color palette and polished finish highlight the varied visual character associated with mother-of-pearl surfaces, while the repeating curved motif creates a composed, decorative field.
Each 12x12 square mosaic is made from iridescent shell and features a 5/64 thickness. Straight-cut edges give the mosaic a clean, defined perimeter, complementing the softness of the scallop pattern. Its polished surface adds a refined finish that suits detailed architectural compositions.
The scallop design can be used to introduce movement across a backsplash or shower wall, where the small-scale pattern becomes a focal element. It also offers a distinctive alternative to linear or geometric mosaics in kitchen, bathroom, and living room settings.
Specified for residential and commercial interior walls, shower walls, backsplashes, and residential or commercial interior floors, this mother-of-pearl mosaic supports a coordinated material approach across interior surfaces. Its square format and white tone can be paired with a broad range of surrounding finishes while maintaining the collection’s iridescent shell presence.
Before You Start
6 things to checkGet the most out of your Marble Systems mother of pearl tile by following this guide, written specifically for genuine shell mosaic.
- Confirm the tile's rated use on the product page before you start. Mother of pearl is an interior wall and backsplash material, well suited to kitchens and bathrooms where moisture is present, but it isn't intended for floors or other heavy-wear surfaces.
- Confirm whether your sheets are mesh-backed or paper-faced before you begin; the two are set slightly differently, and it affects how you handle the sheet once the adhesive has cured.
- Use an adhesive and grout made for natural shell or glass mosaic, not a generic tile adhesive. The wrong setting material can dull the shell's color or flatten its iridescence, and that's not something you can easily correct after the fact.
- Handle sheets and individual pieces with real care. Shell chips more easily than ceramic or stone if it's dropped or struck, especially before it's set.
- The shell itself generally doesn't need to be sealed, but sealing the grout once it's cured is strongly recommended to keep it from absorbing stains over time.
- Order 10 to 15% extra material; breakage and waste tend to run a bit higher with a delicate natural material like this than with ceramic or stone.
Confirm Where This Tile Can Go
Check the Usage section of your product page, and confirm with your installer. Mother of pearl performs well on interior walls and backsplashes, including in kitchens and bathrooms, where it holds up to everyday humidity and temperature changes without issue. It isn't designed for floors or other high-wear, high-impact surfaces, so keep it to vertical applications where contact is light.
Prepare a Flat, Sound Substrate
The substrate needs to be firmly fixed, flat, clean, and dry, and free of dust, oil, paint, old sealers, or anything else that could interfere with adhesion. For wet areas, use an appropriate backer, such as cement board, a compressed cement sheet, or properly treated plywood, and install a waterproofing membrane behind it.
Confirm Your Sheet Type, Then Blend and Dry-Lay
Check whether your mosaic sheets are mesh-backed, with a mesh that stays embedded in the adhesive permanently, or paper-faced, with a paper sheet on the front that gets wetted and peeled away after the adhesive cures. This changes a few details of Step 5, so it's worth confirming with your supplier if it isn't obvious from the product. Open several boxes and lay out sheets to check color and iridescence across the full area before you commit; natural shell varies from piece to piece and sheet to sheet, and blending helps avoid an uneven, patchy look.
Choose the Right Adhesive
Use a high-quality adhesive formulated for glass or natural shell mosaic, often a white, polymer-modified thin-set or a mastic designed for this kind of material. Apply it with a shallow notch trowel, about 2mm deep, since anything deeper risks squeezing adhesive up through the joints between the small shell pieces as you set the sheet, where it would be very visible against the shell's reflective surface.
Set the Sheets Gently
Because mosaic sheets are light, press them into the adhesive with gentle, even pressure rather than forcing them, and use a grout float or a padded block to bed the sheet fully so every piece makes good contact. Insert spacers between sheets if needed to keep joints consistent. Wipe away any adhesive that gets onto the tile surface before it dries; once cured, adhesive is much harder to remove from shell without risking a scratch. If your sheets are paper-faced, let the adhesive cure fully per the manufacturer's instructions before wetting the paper and peeling it away; rushing this step can pull tesserae loose before the bond has set.
Cut Carefully, If Needed
Most mosaic layouts are designed to minimize the need for cutting individual pieces, but perimeter trimming is common. If you do need to cut, use a wet saw with a fine, glass-rated diamond blade run at a slower speed, and expect a somewhat higher breakage rate with shell than you would with ceramic or stone; this is part of why the extra overage matters.
Grout the Joints
Once the adhesive has fully cured, per the manufacturer's instructions, grout the joints. A non-sanded grout is typical for this material; for wet areas like a shower or a busy kitchen backsplash, an epoxy grout offers better water and stain resistance. Work gently rather than pressing hard with the float, since aggressive grouting can scratch a polished shell surface, and clean excess grout from the tile face before it hardens, using a soft cloth or sponge; grout haze is considerably harder to remove from shell once it's set than from ceramic.
Care for the Finish Over Time
The shell itself generally doesn't need sealing. The grout is a different matter: sealing it once fully cured helps keep it from absorbing stains, particularly useful behind a stove or around a sink where it sees regular contact.
Clean mother of pearl tile with a soft cloth and a mild, neutral detergent. Skip abrasive cleaners, scouring powders, steel wool, and sandpaper, all of which can scratch the surface, especially on a high-gloss polished finish. As with any natural, calcium-based material, it's also sensible to avoid harsh acidic cleaners, even though shell isn't as widely discussed for this as marble is.
This guide offers general installation information for mother of pearl and iridescent shell tile. Actual requirements vary by project, sheet type, substrate, and location. Marble Systems is not responsible for claims resulting from these general guidelines. Always work with a qualified professional tile installer and use setting materials suited to your specific project.