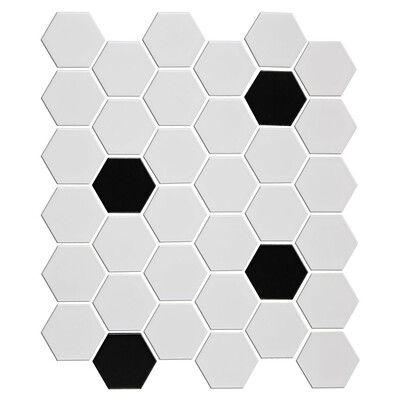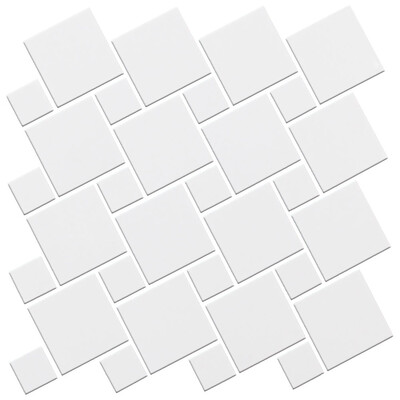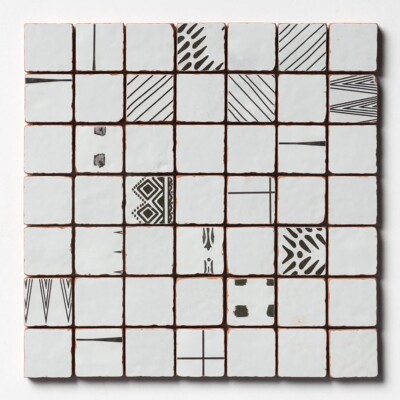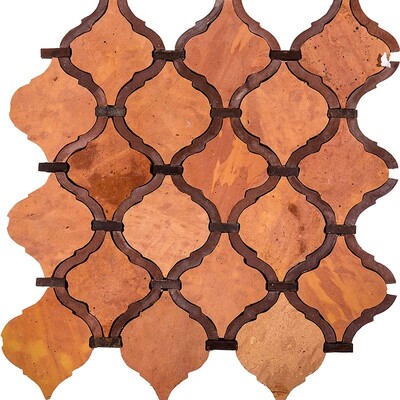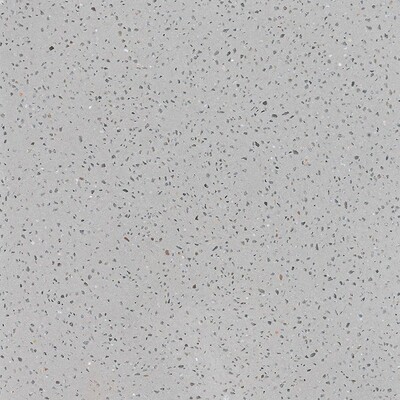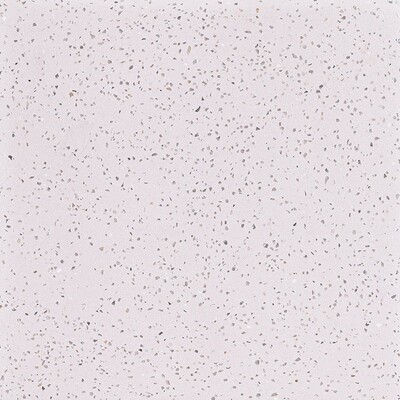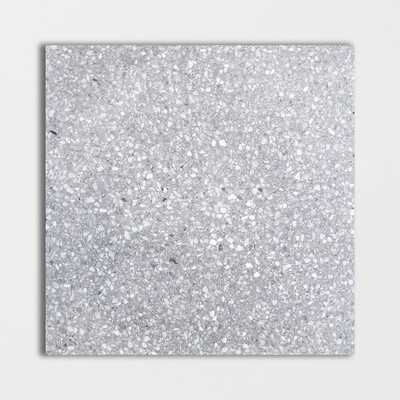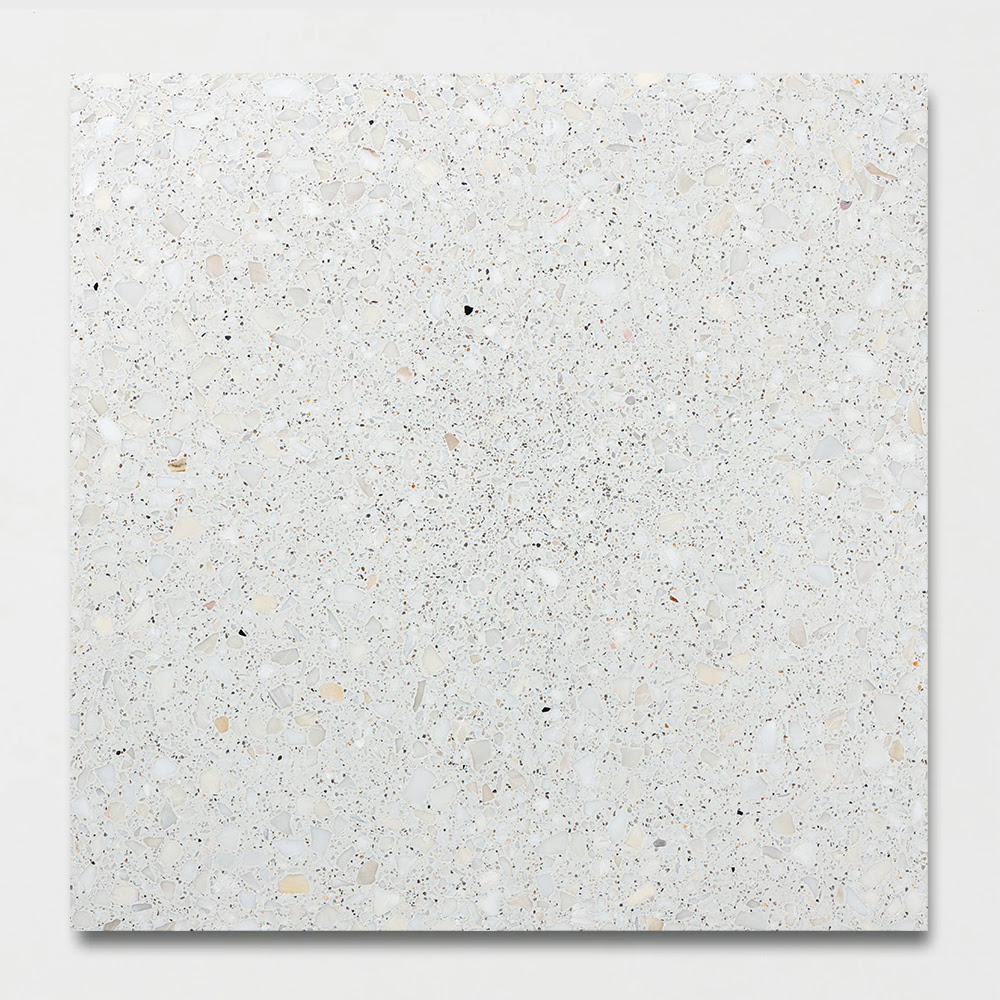

Cool Fog Terrazzo Tile 15 3/4"x15 3/4"x11/16" Honed finish
Sorry, this product is currently unavailable.
Every lot moves — join the notify list for restock, or browse two close matches from current inventory.
- Est. coverage: 1.72 sqft / per piece•3.45 sqft / per box
Marble Systems has one of the largest tile dealer networks in the U.S. By visiting your local tile stores, you can explore our exquisite collection in person and conveniently make your purchase through our trusted dealers. Simply enter your ZIP code to get started.
Interior — Residential
Wet Areas
Exterior
Commercial
About Cool Fog Honed Terrazzo Tile
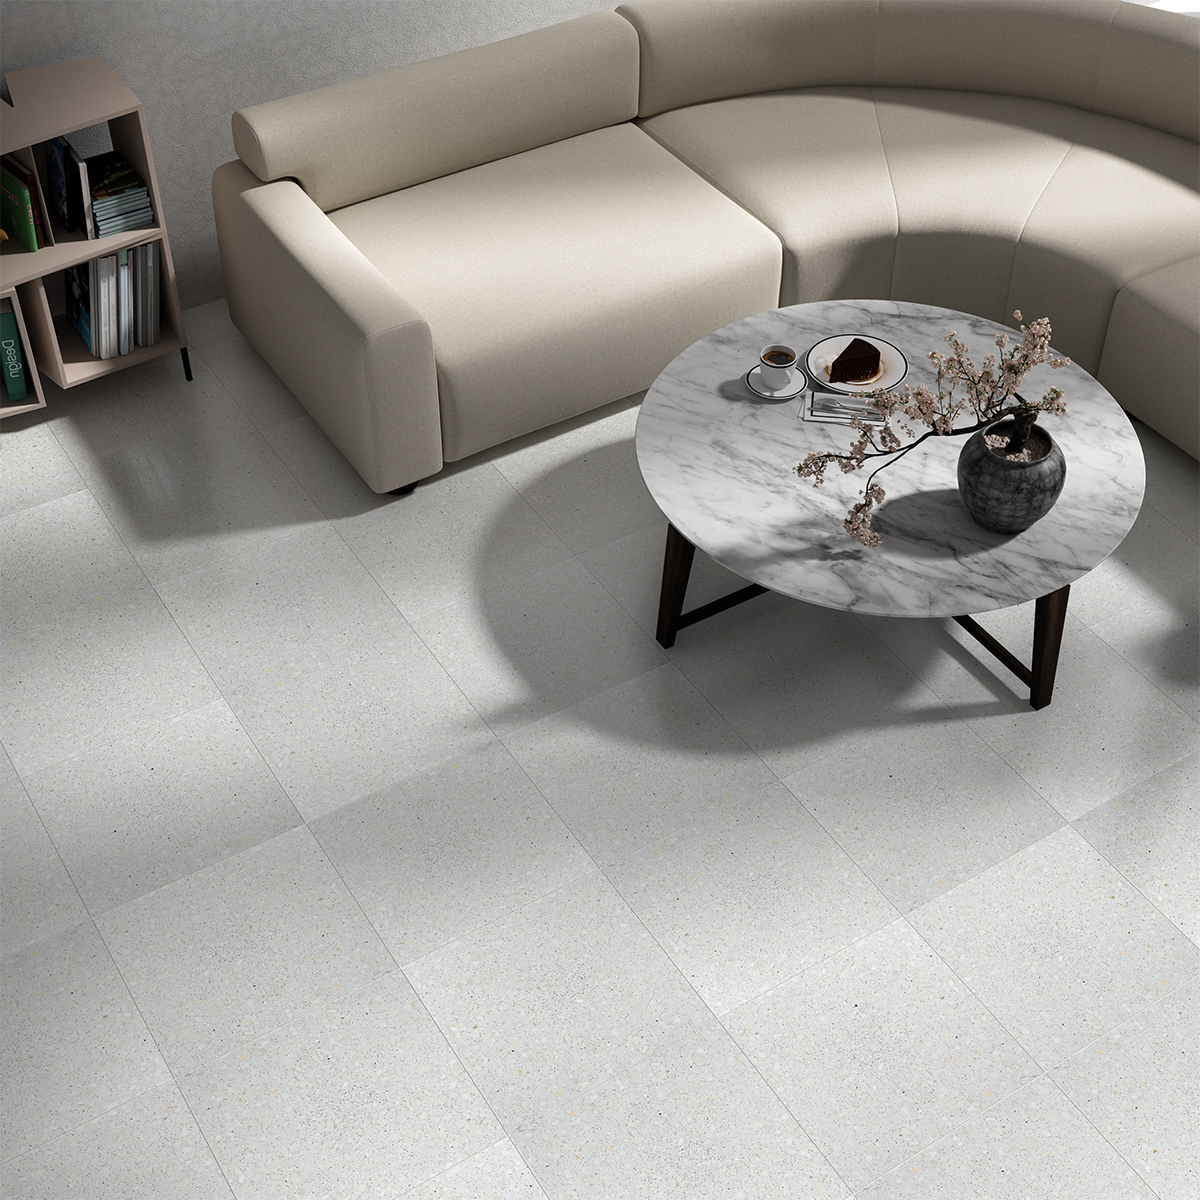
Cool Fog Honed Terrazzo Tile 15 3/4x15 3/4 brings a clean, modern terrazzo surface to interior floor and wall designs. Its white color and Cool Fog color group create a restrained foundation for kitchens, bathrooms, living rooms, and other residential or commercial interiors.
The square 15 3/4 x 15 3/4 format gives the tile a balanced, architectural presence. Straight-cut edges emphasize its crisp geometry, while the honed finish offers a smooth, understated surface character suited to contemporary material palettes.
With a V1 color variation classification, this terrazzo tile presents a uniform appearance from piece to piece. The consistent visual character supports orderly layouts, whether the tile is used across a broad floor plane or as a composed wall installation.
This 11/16-inch-thick tile is specified for residential interior walls, commercial interior walls, shower walls, residential interior floors, residential light floors, and commercial interior floors. As part of the Loft# and Terrazzo Novita collections, it offers a modern square tile option for coordinated interior spaces.
Before You Start
7 things to checkGet the most out of your Marble Systems terrazzo tile by following this guide, written specifically for terrazzo.
- Confirm whether your terrazzo tile is cement-based or resin (epoxy) based before you buy setting materials. This isn't a detail to guess at; the wrong adhesive can lead to a bond that fails.
- Confirm the tile's rated use on the product page before you start. As with any polished surface, slip resistance depends on finish: polished terrazzo can be slippery when wet and works best on walls or dry floors, while honed or matte terrazzo generally offers better grip and suits wet floors more comfortably.
- Cement-based terrazzo is more porous and benefits from sealing, similar to natural stone. Resin-based terrazzo is far less porous and generally needs little to no sealing, though it's worth confirming with the manufacturer, since some do recommend an occasional protective finish to maintain shine.
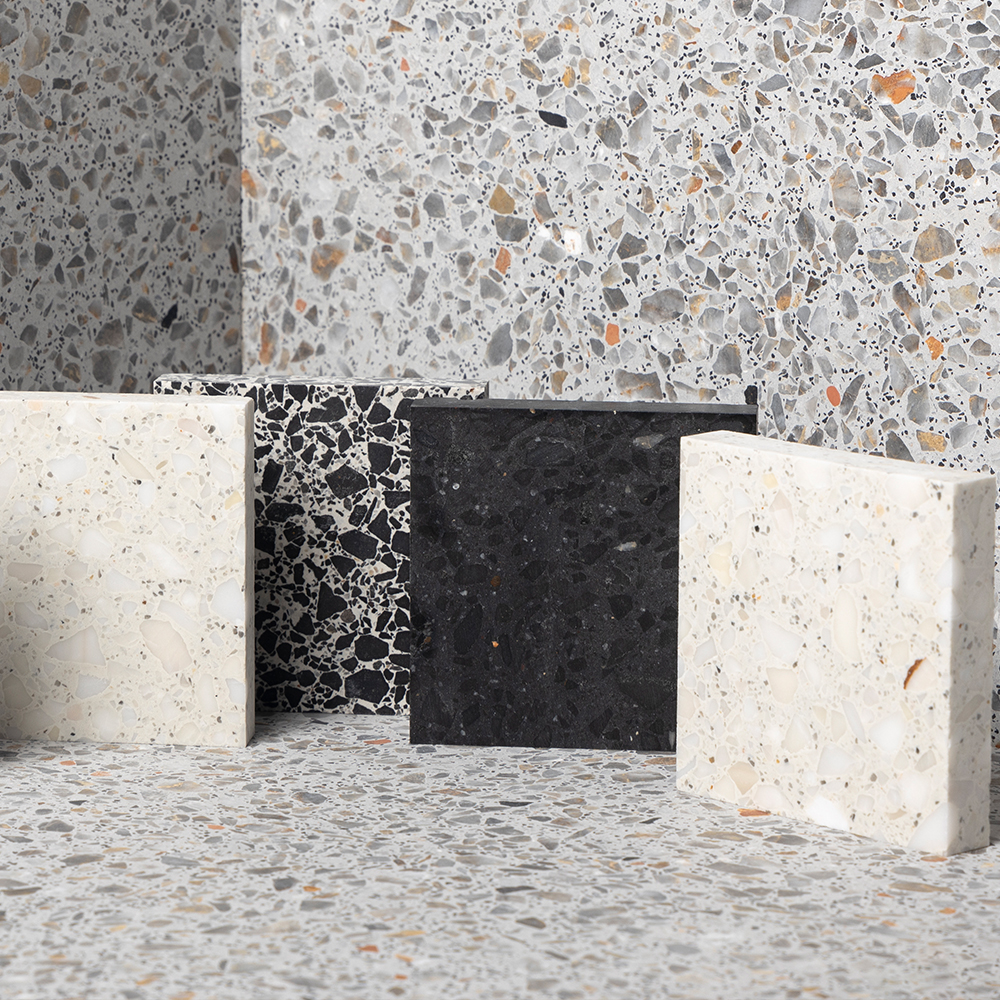
- Terrazzo's aggregate mix and color density can vary somewhat between production batches. Confirm all the tile for a single project comes from the same batch or lot before you start, in addition to the usual practice of blending boxes as you set.
- Handle terrazzo tile carefully; cement-based tile in particular tends to be thick and heavy, and corners can chip if it's mishandled.
- Order 10 to 15% extra material for cuts, waste, and future repairs.
- If material is face-taped, remove the tape only after the tile has set and the adhesive has begun to firm up.
Confirm the Binder, and Where This Tile Can Go
Before anything else, confirm whether your terrazzo is cement-based or resin-based; this single fact shapes several of the steps below. Check the Usage section of your product page for wall, floor, and exterior suitability, and confirm with your installer, particularly for wet floors. Polished terrazzo can be slippery when wet, similar to any polished stone, while honed and matte finishes provide better traction and are generally the safer choice for bathroom and shower floors.
Prepare a Flat, Sound Substrate
Tile can be installed over most structurally sound substrates that are clean, flat, dry, and free of wax, dust, grease, and other debris. Repair, patch, and level any damaged or uneven areas. Terrazzo tile, especially cement-based tile in thicker formats, is heavy, so confirm your subfloor or wall structure can support the load. For walls, use cement backer board or a similarly rated substrate in any area exposed to moisture. Waterproofing beneath the tile is recommended for most floor installations, and is essential in showers and other wet areas.
Confirm the Batch, Then Blend and Dry-Lay
Because terrazzo's aggregate mix is somewhat variable by nature, color density and chip distribution can differ a bit more between production batches than they would with a solid-color tile. Confirm all the material for your project comes from the same batch before you start. Then open several boxes within that batch and dry-lay a section, blending pieces as you go, to even out any minor piece-to-piece variation before anything is set permanently.
Choose the Right Setting Material, This Is Where Binder Type Matters
If your terrazzo is cement-based, a polymer-modified thin-set (ANSI A118.4, or A118.15 for larger, heavier formats) works well, similar to what you'd use for natural stone. If your terrazzo is resin or epoxy-based, it generally needs an epoxy-based setting adhesive rather than a standard cement thin-set; a resin-bound tile's back doesn't bond reliably to cement-based mortar, and using the wrong one is a common cause of later failure. Confirm which category your specific tile falls into with your supplier before ordering adhesive. Whichever setting material you use, back-butter larger or heavier tile, adding mortar or adhesive to the tile back as well as the substrate, for full support.
Seal Before Grouting, Mainly for Cement-Based Terrazzo
If your terrazzo is cement-based, apply a penetrating sealer to the tile face before grouting; this acts as a grout release, similar to what you'd do with marble or limestone, keeping grout pigment from soaking into the more porous cement binder. If your terrazzo is resin-based, this step is usually unnecessary given how little it absorbs, though it's worth checking the specific product's care instructions in case the manufacturer recommends a light protective coat regardless.
Cut the Tile
Mark cuts with a pencil or grease pencil. A wet saw with a diamond blade gives the cleanest, most controlled cut. Because terrazzo mixes materials of different hardness, the softer binder and the harder stone or glass chips, a cut edge can be more prone to small chips than a single, uniform material, so support the tile fully and cut slowly. Ease any sharp cut edges with a rubbing stone.
Set the Tile
Spread your setting material with the flat side of the trowel, then comb it into ridges with the notched side held at roughly a 45-degree angle, using the trowel size recommended for this tile's weight and format. Don't cover your layout lines. Set each tile with a slight push or gentle twist, not a slide, and use spacers or, on larger formats, tile leveling clips to keep the surface flush; a polished terrazzo surface shows lippage the same way any reflective finish does. Leave a perimeter gap of about 1/4" between the tile field and adjoining walls or fixed surfaces, and plan additional movement joints across larger fields per standard tile industry guidance. Avoid walking on the installation for at least 24 hours, or as long as your setting material recommends.
Grout the Joints
Wait at least 24 hours, or per your setting material's instructions, before grouting. Many terrazzo installations use a grout color closely matched to the tile's background, to keep the joints visually quiet and preserve some of the seamless look associated with poured terrazzo; unsanded grout suits narrow, rectified joints, while sanded grout is better for joints of 1/8" or wider. Spread grout diagonally across the joints with a rubber float held at a 45-degree angle to pack it fully, then hold the float closer to 90 degrees to scrape excess from the tile face. Let the grout firm up for 15 to 20 minutes, then wipe the surface with a clean, damp sponge, rinsing frequently, until the joints are smooth and even. Avoid acidic cleaners on cement-based terrazzo, especially if it contains marble or limestone chips, since both the binder and those chips can be affected by acid; use a pH-neutral, stone-safe haze remover instead, and test it in an inconspicuous spot first.
Seal Again if Cement-Based, Then Care for the Finish Over Time
If your terrazzo is cement-based, apply the sealer's final coat once the grout has cured, and plan to reseal periodically going forward, similar to a natural stone floor; check your specific sealer's recommended interval, since this varies by product and how much traffic the surface sees. If your terrazzo is resin-based, ongoing sealing generally isn't needed, though you can confirm with the manufacturer if you want extra peace of mind.
Clean terrazzo with a pH-neutral cleaner and a soft cloth or mop, and avoid vinegar, bleach, ammonia, and other acidic or abrasive products, particularly on cement-based terrazzo with calcareous chips. Wipe up spills promptly rather than letting them sit. Over many years, a cement-based terrazzo floor can be professionally ground and repolished to refresh its shine, much like marble; resin-based terrazzo tends to hold its finish longer with less intervention, thanks to its lower porosity and harder, more chemical-resistant surface.
This guide offers general installation information for terrazzo tile. Actual requirements vary by project, binder type, substrate, and location. Marble Systems is not responsible for claims resulting from these general guidelines. Always work with a qualified professional tile installer and use setting and sealing materials suited to your specific project.