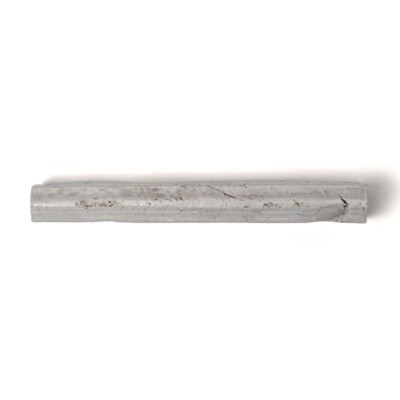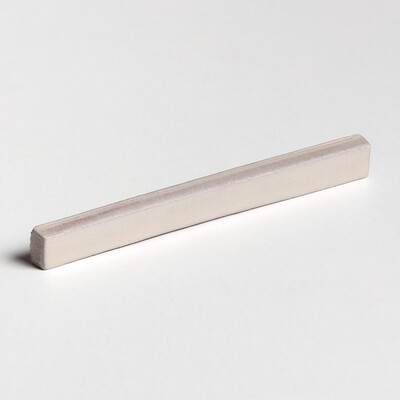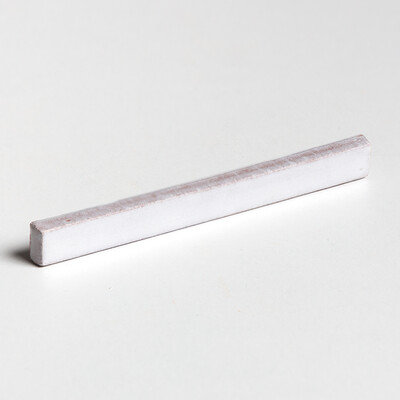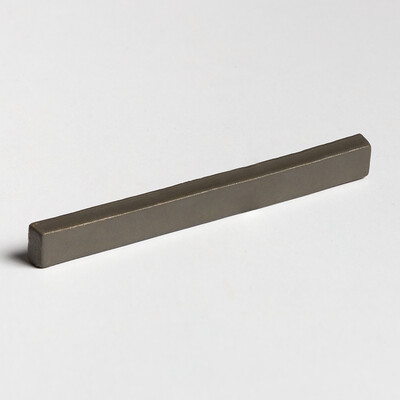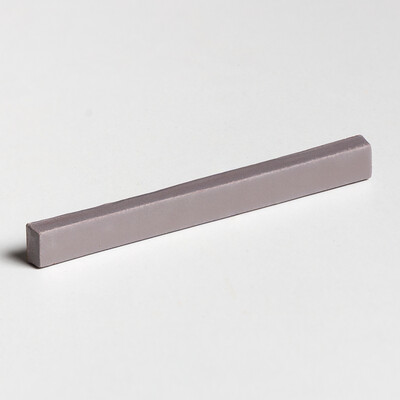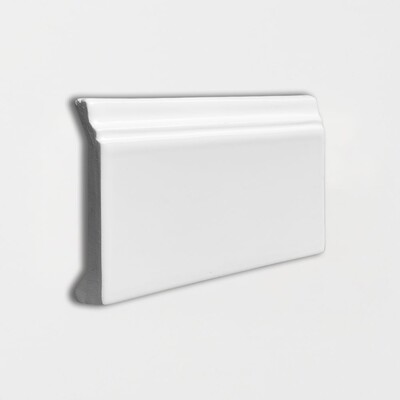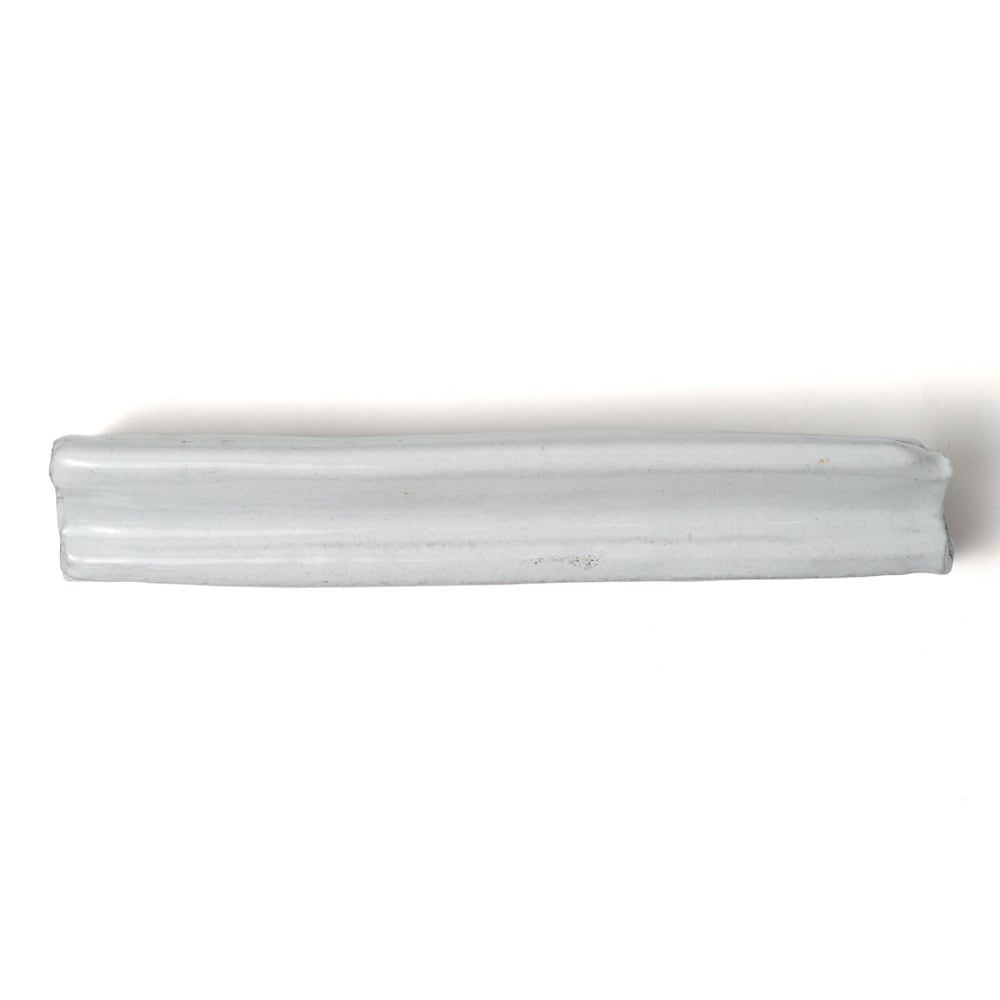
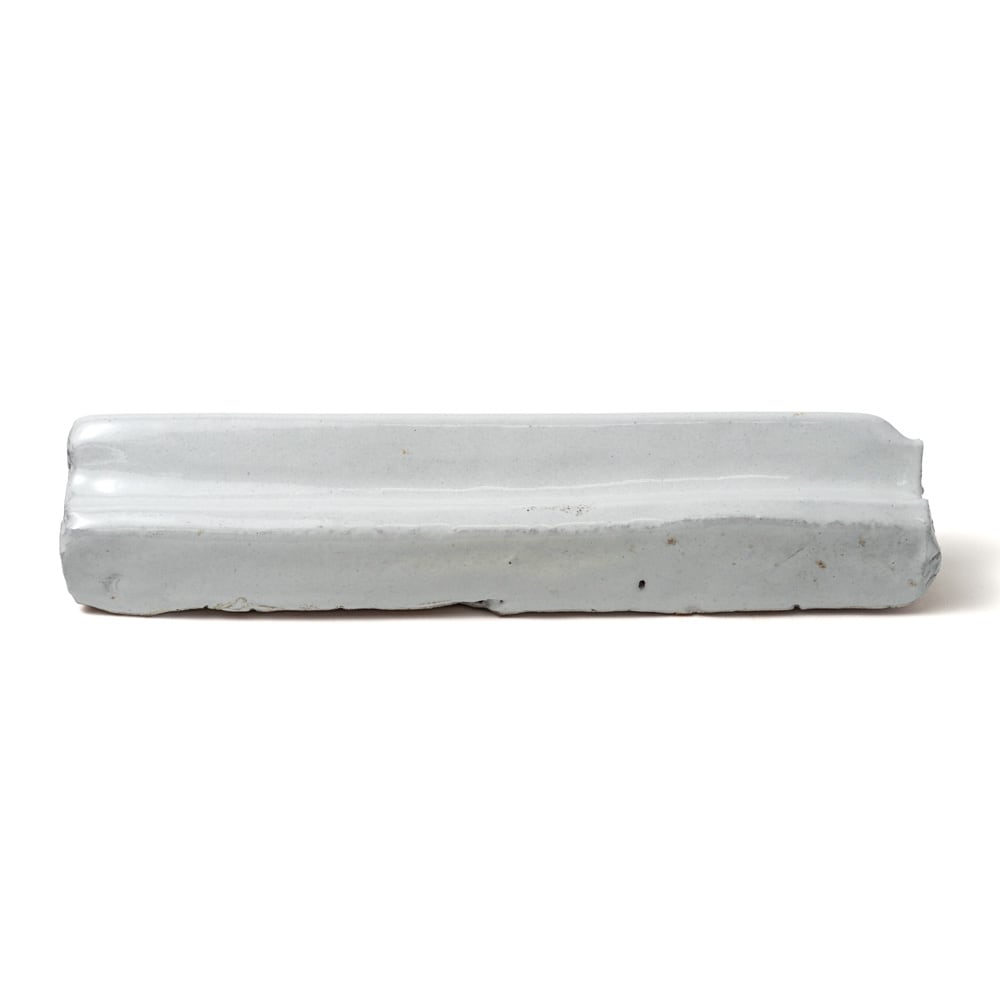
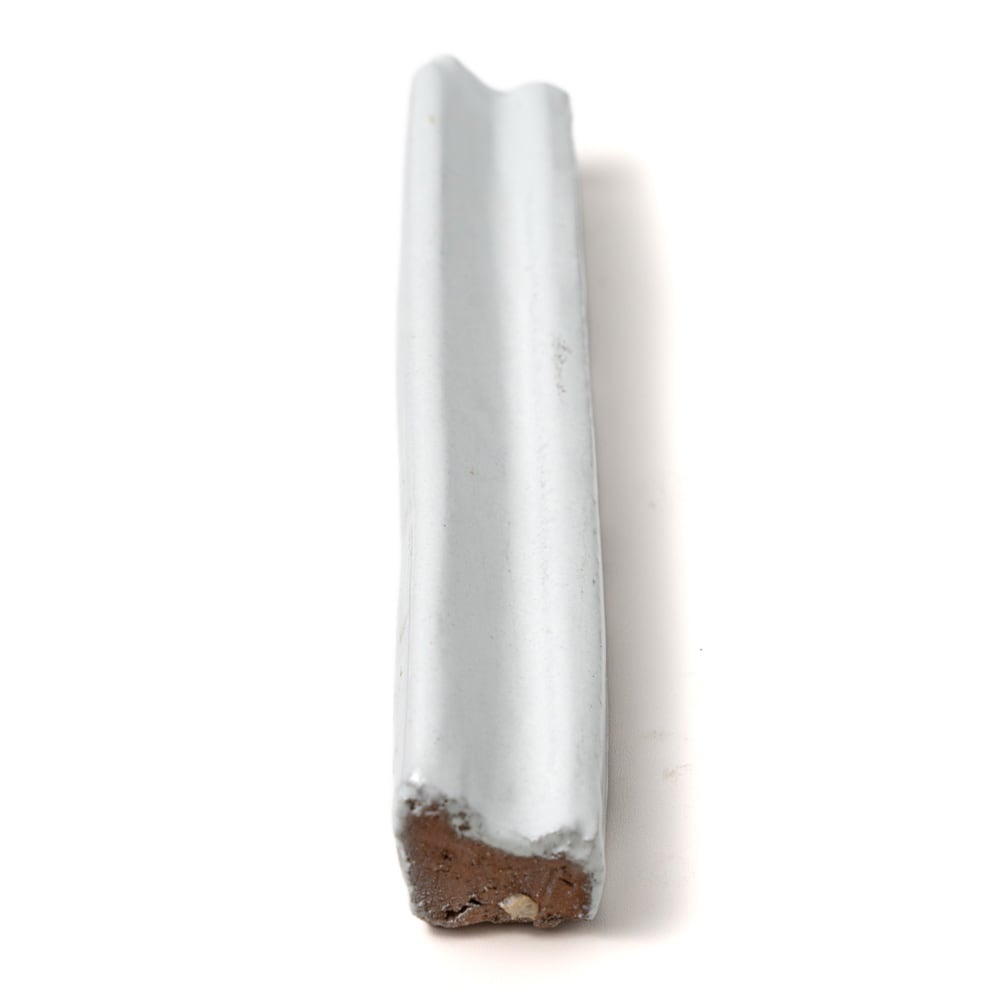
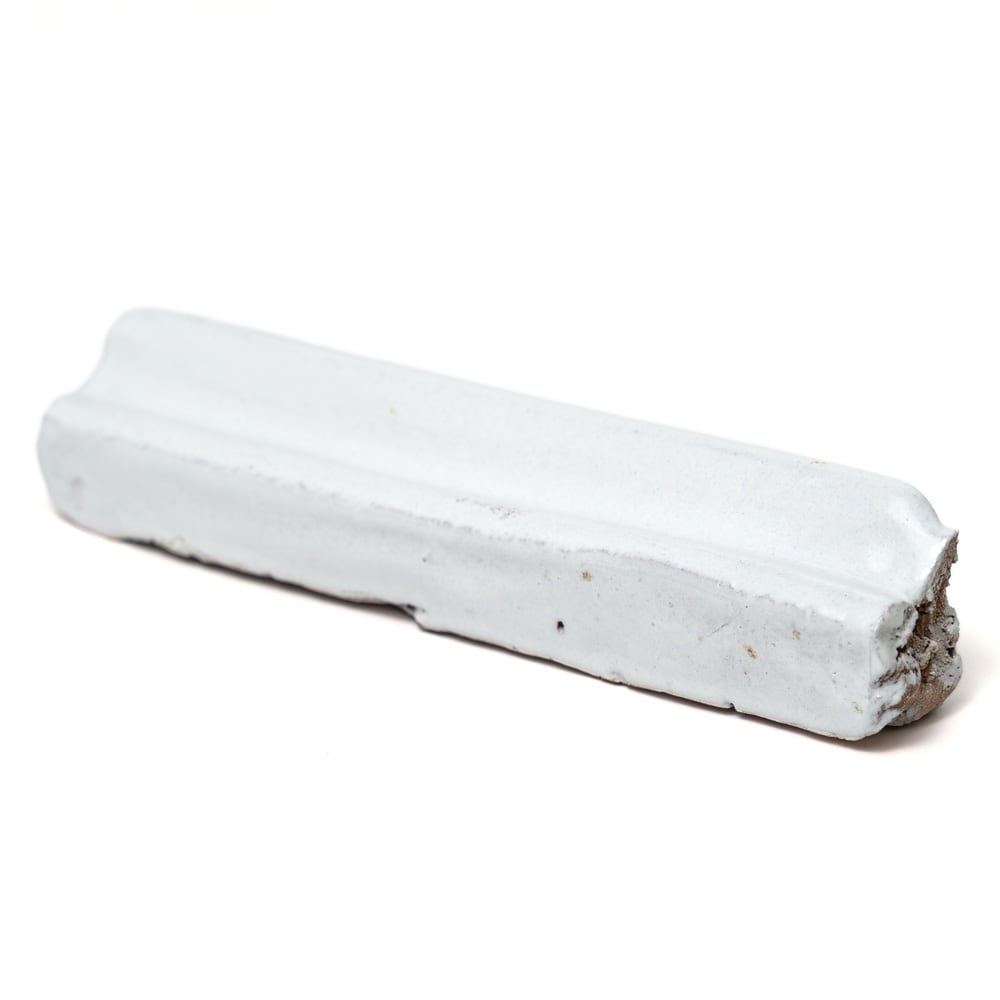
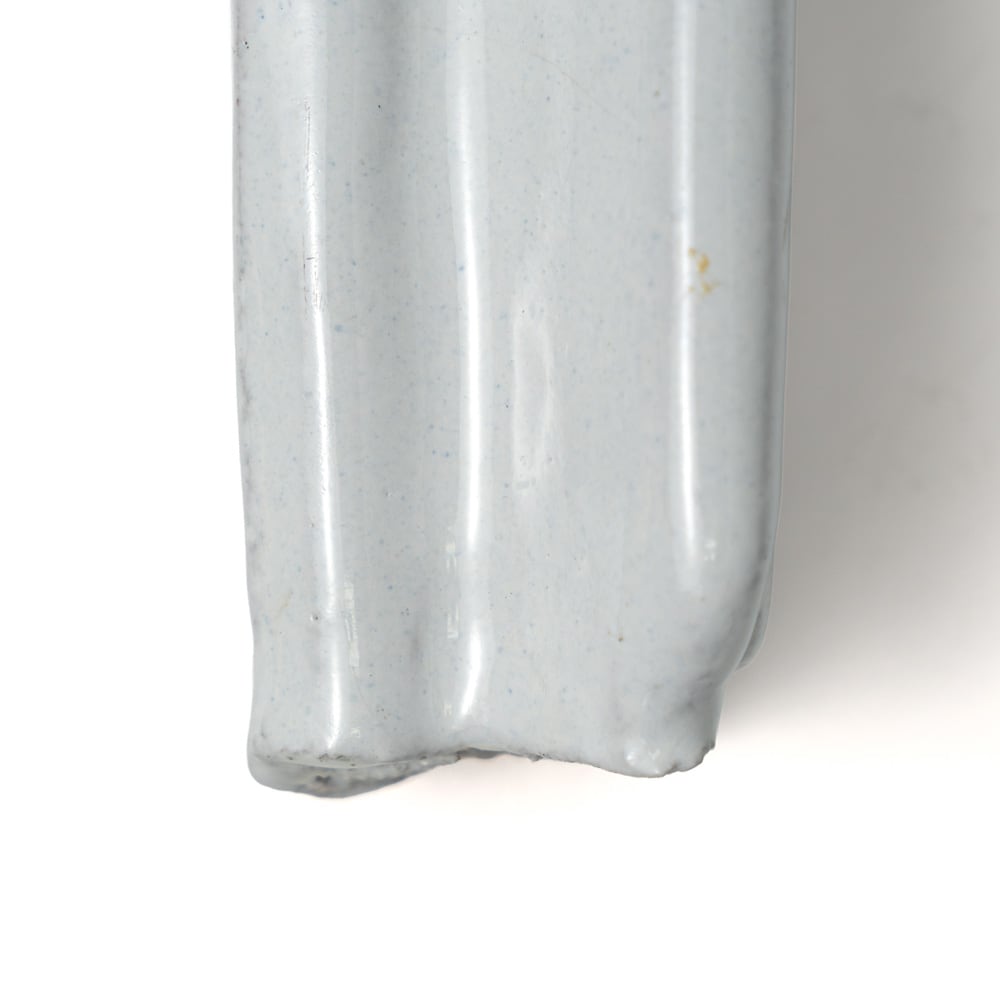
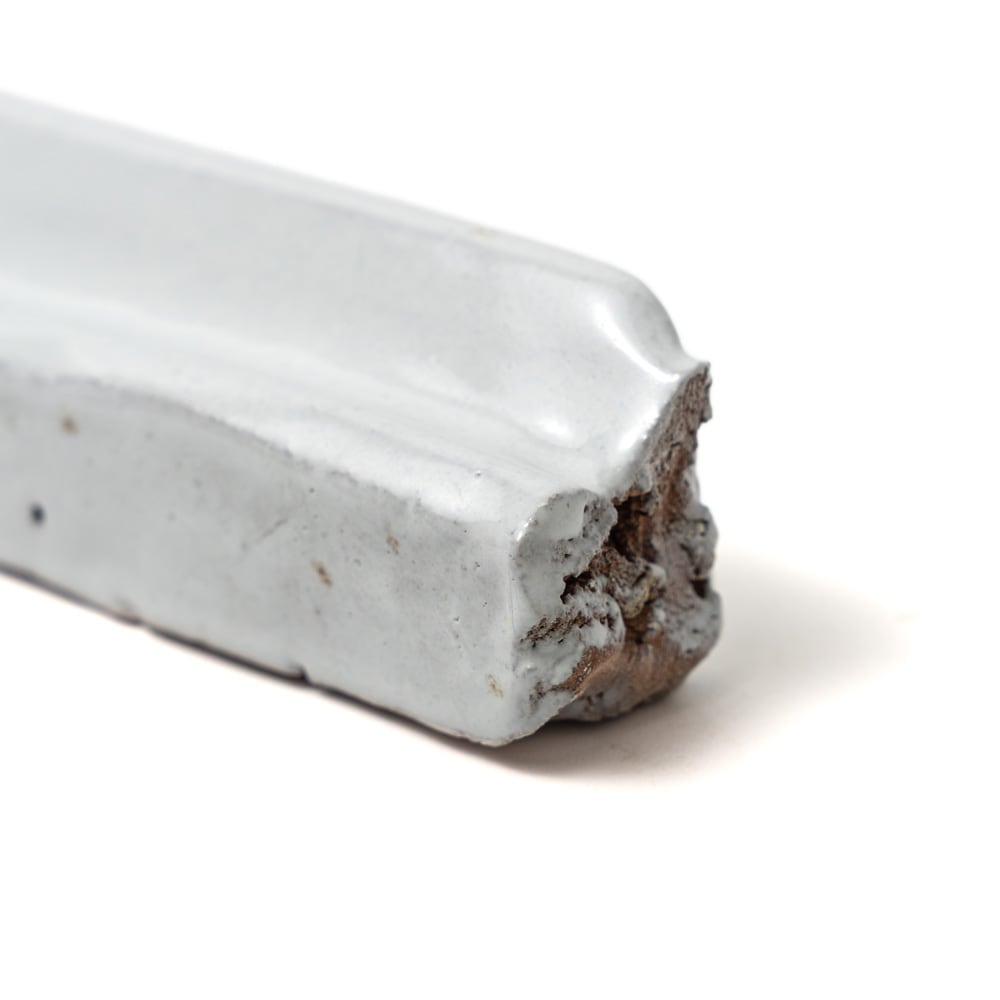
Antique White Rail Terracotta Molding 2"x8"x1 1/4" Glazed finish
Interior — Residential
Wet Areas
Exterior
Commercial
About Antique White Glazed Rail Glazed Terracotta Molding
Antique White Glazed Rail Glazed Terracotta Moldings 2x8 brings a softly rustic finishing detail to tiled interior walls. Its antique white color and glazed surface create a composed accent that can complement a range of wall tile arrangements while adding dimensional definition at transitions and borders.
Made from glazed terracotta, this rectangular rail molding measures 2x8 and has a 1 1/4 thickness. The rounded edge gives the profile a smooth, shaped presence, distinguishing it from flat field tile and helping establish a considered trim detail.
Designed for tile trim applications, this molding can be incorporated on residential or commercial interior walls. It is also listed for shower walls and backsplashes, making it a versatile decorative component for bathroom, kitchen, and living room wall designs.
Use the Antique White rail profile to frame a backsplash, finish a tiled wall edge, or introduce a horizontal visual break within a wall installation. Its glazed finish, rounded edge, and rustic styling lend architectural character to layouts that call for a substantial terracotta molding.
Before You Start
6 things to checkGet the most out of your Marble Systems glazed terracotta tile by following this guide, written specifically for our glazed cotto collections, including the Evora collection and other hand-glazed terracotta designs.
- Confirm the tile's rated use on the product page before you start. Most glazed terracotta, especially patterned wall collections, is designed for walls and backsplashes. Some products are floor-rated, but the glaze is generally softer and less scratch-resistant than porcelain, and a glossy glaze can be slippery when wet, so don't assume floor or wet-floor suitability just because the tile is glazed. Check the specific product's rating.
- Order 10 to 15% extra material. Glazed terracotta is often hand-finished in small batches, so a later reorder may not match your original lot exactly.
- Expect real variation in glaze color and tone, tile to tile and sometimes within a single tile, since the glaze is often hand-applied over natural clay. This is part of the material's character, not a defect. Blend tile from several boxes as you set.
- Handle tile carefully. The clay body underneath the glaze is softer than porcelain or dense ceramic, so corners and edges can chip more easily during transport, cutting, and setting. Store and stack tile with care.
- Use a polymer-modified thin-set mortar formulated for tile, not a pre-mixed mastic or general construction adhesive, except where a manufacturer specifically permits it for small, dry wall installations.
- If material is face-taped, remove the tape only after the tile has set and the adhesive has begun to firm up.
Confirm Where This Tile Can Go
The fired glaze on glazed terracotta is what makes the surface water-resistant, similar to glazed ceramic, and it's also why the tile face doesn't need to be sealed the way natural terracotta does. But the terracotta body beneath that glaze is softer and more absorbent than porcelain or dense ceramic, which is why glazed terracotta chips more easily underfoot, and why a glossy glaze on this material can be slippery when wet, the same concern as with any high-gloss finish. That combination is why most glazed terracotta collections are designed primarily for walls, backsplashes, and shower walls, while floor use is limited to specific, typically thicker, floor-rated products. Check the Usage section of your product page, and if you're considering this tile for a floor or a wet floor, confirm the specific product's rating and slip resistance with your installer rather than assuming based on the glaze alone.
Prepare the Substrate
Tile can be installed over most structurally sound substrates that are clean, flat, dry, and free of wax, dust, grease, and other debris. Repair, patch, and level any damaged or uneven areas. Glazed terracotta tends to be heavier than glazed ceramic because of its thicker clay body, so for larger installations, confirm your substrate can support the added weight. For walls, use cement backer board or a similarly rated substrate in any area exposed to moisture, such as a shower or a backsplash near a sink. For wet installations, install a waterproofing membrane behind the tile; even though the glaze itself resists water, moisture can still work its way in through grout joints or the substrate, so the wall or floor system behind the tile still needs to manage it properly. Remove moldings, trim, and appliances that would interfere with installation, and undercut door jambs so tile can slide beneath them.
Plan the Layout
Mark the center point of opposing walls and snap chalk lines that intersect at the center of the room or wall field, checking that they're perfectly square. Dry-lay a row of loose tile with spacers along both lines to see how the cuts fall at the edges; if you'll end up with slivers narrower than half a tile, shift the layout by half a tile width to balance the field.
Many glazed terracotta collections carry a strong pattern, whether geometric, botanical, or otherwise. Dry-lay a larger section first, ideally several rows in both directions, so you can see how the pattern repeats and aligns before any adhesive goes down. Plan your cuts so they fall at edges and corners rather than through the middle of a focal motif.
Choose the Right Mortar
Given the added weight and thickness of glazed terracotta compared to glazed ceramic, a polymer-modified thin-set meeting ANSI A118.4 or A118.15 is a good baseline, and for thicker or heavier pieces, a large-and-heavy-tile mortar rated for the extra load is worth considering. Back-butter each tile, adding a layer of mortar to the tile back as well as the substrate, to fill voids from an uneven back surface and help even out any thickness variation between pieces, which is common with hand-finished tile. Choose a white thin-set under light-colored glazes to avoid any gray show-through, and mix only what you can use in about 30 minutes, following the manufacturer's water ratio exactly.
Cut the Tile Carefully
Because the clay body underneath the glaze is softer and more prone to chipping than porcelain or dense ceramic, a wet saw with a fine, continuous-rim diamond blade generally gives the cleanest, most controlled cut. Cut with the glazed face up to reduce chipping along the edge, and ease any sharp or rough edges with a rubbing stone. Keep in mind that a cut edge exposes the raw, unglazed clay body underneath, which is more porous than the glazed face; in wet installations, sealing exposed cut edges before grouting can add extra protection at perimeter cuts or anywhere tile meets a fixture.
Set the Tile
Spread mortar with the flat side of the trowel, then comb it into ridges with the notched side held at roughly a 45-degree angle. Don't cover your layout lines, and don't spread more mortar than you can tile within about 15 minutes. Set each tile with a slight push or gentle twist, not a slide, and insert spacers to keep joints even. Leave a perimeter gap of about 1/4" between the tile field and adjoining walls or fixed surfaces to allow for natural movement. Wipe excess mortar from the tile face as you go with a damp sponge. Once a section is set, tap tiles gently with a rubber mallet to bed them evenly, and check for lippage across joints with a straightedge, since hand-finished tile can vary in thickness more than machine-made ceramic. Avoid walking on floor installations for at least 24 hours.
Grout the Joints
Wait at least 24 hours (or per your mortar's instructions) before grouting. Use sanded grout for joints of about 1/8" or wider, and unsanded grout for narrower joints. Mix only what you'll use within about 30 minutes.
Spread grout diagonally across the joints with a rubber float held at a 45-degree angle to pack it fully, then hold the float closer to 90 degrees to scrape excess from the tile face. Let the grout firm up for 15 to 20 minutes, then wipe the surface with a clean, damp sponge, rinsing frequently, until the joints are smooth and even. The glazed face cleans up much like glazed ceramic; avoid acidic or abrasive cleaners when removing haze, and test any cleaner in an inconspicuous spot first, especially on a matte or softly textured glaze. Pay extra attention at any exposed cut edges, since the raw clay body there can pick up grout pigment more readily than the glazed face, so don't let grout sit any longer than necessary in those spots.
Care for the Finish Over Time
The fired glaze itself doesn't need to be sealed, and glazed terracotta doesn't require the periodic resealing that natural terracotta does. What does typically benefit from a sealer is the grout: most cementitious grout does well with a penetrating grout sealer once fully cured, generally around 2 to 3 weeks after installation, to help resist staining. In wet installations, keep an eye on any exposed cut edges over time, since they're more absorbent than the glazed face and can benefit from a touch-up seal if they see regular moisture. Hold off on heavy foot traffic for about 72 hours after grouting.
Clean glazed terracotta with a pH-neutral cleaner and a soft cloth or mop. Avoid abrasive scouring pads and harsh scrubbing, since the glaze sits over a softer body than porcelain and can scratch more easily. On floor installations, regular sweeping or dust-mopping helps keep grit from wearing the glaze down over time.
This guide offers general installation information for glazed terracotta tile. Actual requirements vary by project, substrate, and location. Marble Systems is not responsible for claims resulting from these general guidelines. Always work with a qualified professional tile installer and use setting materials suited to your specific project.