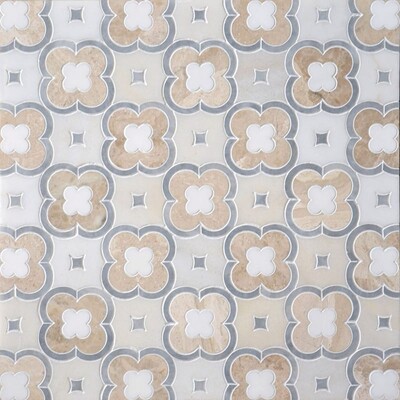
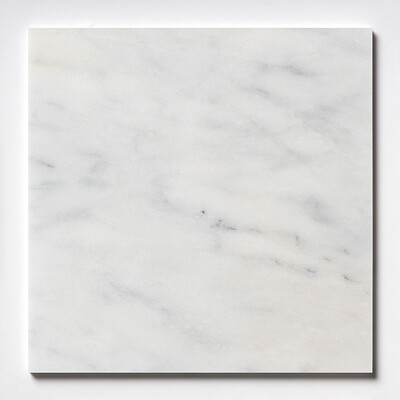
Vanilla Marble Tile 24"x24"x3/4" Honed finish
Size or Shape Options:
New to Marble Systems?
Trade accounts get published pricing, volume tiers, and one-click reorder. Setup takes about two minutes. Create a trade account →- Est. coverage: 4 sqft / per piece•12 sqft / per box
About Vanilla Honed Marble Tile
Renovating your home is easier than ever with Vanilla Honed Marble Tile. From bathrooms to kitchens, you can make any location look perfect.
Marble is a material that has been used by the rich and powerful for centuries. The ancients, like Egypt's Pharaohs had marble in their tombs to show off how much they could afford. If you're looking for exclusivity then Marble Tiles might be just what your home needs. Marble offers many decorating options, which can help you achieve that luxurious feel at home without the hefty price tag.
The honed finish is less reflective, making the space feel like its own. The Beige Marble is an elegant choice for any space. It will emphasize the beauty of your tiles while adding character to your design scheme.
For a modern and stylish look, there are many options from floor to wall tiles with matching mosaics that give your home the perfect finishing touch. The size of this product 24x24 x 3/4. You can use the site search to find a different size of this product – we've got it all!
Interior — Residential
Wet Areas
Exterior
Commercial
Before You Start
7 things to checkGet the most out of your Marble Systems honed marble tile by following this guide, written specifically for our honed marble collections.
- Confirm the tile's rated use on the product page before you start. Honed marble generally performs better on wet floors than polished marble, thanks to its better grip, which is why it's a common choice for bathroom and shower floors, but still confirm this specific product's rating with your installer.
- All natural marble is porous and needs to be sealed. Honed marble is more porous than polished, so plan on sealing it a bit more often, roughly every six to twelve months depending on traffic and the sealer product, rather than the once-a-year timeline that's typical for polished marble. Check your sealer's label for its specific recommendation.
- Certain marble types, including some black, white, dolomitic, and green marbles, can react to standard setting materials and may need a moisture-sensitive or low-moisture thin-set. Check with your installer or mortar manufacturer about this specific stone before setting.
- Blend tile from multiple boxes and dry-lay a section before installing; color and veining vary piece to piece with natural stone.
- Order 10 to 15% extra material for cuts, waste, and future repairs, since a later reorder may not match your original lot.
- Handle large-format honed tile carefully. It's heavier than ceramic of the same size, and edges can chip if not supported and handled properly.
- If material is face-taped, remove the tape only after the tile has set and the adhesive has begun to firm up.
Confirm Where This Tile Can Go
Check the Usage section of your product page for wall, floor, and exterior suitability, and confirm with your installer, especially for wet floors and exterior use. Honed marble's matte, slightly textured surface offers meaningfully better traction than a polished finish, which is a big part of why it's favored for bathroom floors, kitchen floors, and other areas where water or spills are a regular occurrence. For exterior installations, also confirm this specific stone's suitability for your climate; freeze-thaw performance varies by stone type, so it's worth checking rather than assuming.
Prepare a Flat, Sound Substrate
Tile can be installed over most structurally sound substrates that are clean, flat, dry, and free of wax, dust, grease, and other debris. Repair, patch, and level any damaged or uneven areas. A honed surface is more forgiving than a polished one when it comes to hiding minor lippage visually, since it doesn't reflect light directly, but the substrate still needs to be flat and sound, particularly for larger formats like 12x24, which have a tighter flatness tolerance than smaller tile. For walls, use cement backer board or a similarly rated substrate in any area exposed to moisture. Waterproofing beneath the tile is recommended for most floor installations, and is essential in showers and other wet areas. Remove moldings, trim, and appliances that would interfere with installation, and undercut door jambs so tile can slide beneath them.
Blend and Dry-Lay Before You Commit
Open several boxes and mix pieces as you lay out a substantial dry section before any adhesive goes down. Honed marble's veining and color tend to read a bit softer and more muted than the same stone in a polished finish, but piece-to-piece variation is still very real, so blending from multiple boxes and dry-laying first will help you catch any uneven distribution of color or veining before it's set in place.
Choose the Right Mortar
A premium white thin-set is recommended under honed marble to avoid any gray show-through beneath a lighter stone, and for large-format or heavy tile, a large-and-heavy-tile mortar meeting ANSI A118.4 or A118.15 gives better support and coverage. Back-butter each tile, adding mortar to the tile back as well as the substrate, aiming for as close to full coverage as possible, since large, heavy tile with hollow spots underneath is more prone to cracking under point loads over time. If you're working with a marble type known to be moisture-sensitive, confirm the right mortar with your supplier before you start.
Seal Before Grouting
This step matters even more on honed marble than on polished, given its more open pore structure. Apply a penetrating, impregnating sealer to the tile face before grouting; this acts as a grout release, keeping grout pigment and moisture from soaking into the stone during the grouting process. Follow the sealer's instructions for cure time before you move on to grouting, and keep the tile protected from dust and spills in the meantime.
Cut the Tile
Mark cuts with a pencil or grease pencil. A wet saw with a stone-rated blade gives the cleanest, most controlled cut, and eases the risk of chipping along the edge. Unlike polished marble, a honed cut edge doesn't need to be sent out for repolishing to blend in; there's no shine to match, so lightly honing or easing the cut edge with a rubbing stone is generally enough for a clean, consistent look even on visible edges.
Set the Tile, Managing Lippage
Spread mortar with the flat side of the trowel, then comb it into ridges with the notched side held at roughly a 45-degree angle, using the trowel size recommended for this tile's weight and format. Don't cover your layout lines, and don't spread more mortar than you can tile within about 15 minutes. Set each tile with a slight push or gentle twist, not a slide, and use spacers or, on larger formats, tile leveling clips to keep the surface flush. A honed finish is more forgiving of minor lippage visually than a polished one, but it still matters for how comfortable and even the floor feels underfoot, so it's worth checking with a straightedge as you go. Leave a perimeter gap of about 1/4" between the tile field and adjoining walls or fixed surfaces. Wipe excess mortar from the tile face as you go. Avoid walking on the installation for at least 24 to 48 hours, or as long as your specific mortar recommends.
Grout the Joints
Wait at least 24 hours, or per your mortar's instructions, before grouting. Mix only what you'll use within about 30 minutes. Spread grout diagonally across the joints with a rubber float held at a 45-degree angle to pack it fully, then hold the float closer to 90 degrees to scrape excess from the tile face. Let the grout firm up for 15 to 20 minutes, then wipe the surface with a clean, damp sponge, rinsing frequently, until the joints are smooth and even. Never use vinegar or any other acidic cleaner on marble, honed or otherwise; it will etch the stone on contact. Use a pH-neutral, stone-safe haze remover instead, and don't let grout sit any longer than necessary, since honed marble's more open surface can hold onto haze a bit more stubbornly than polished if it isn't cleaned up promptly. Test any cleaner in an inconspicuous spot first, and buff dry with a soft cloth once the haze lifts.
Seal Again, Then Care for the Finish Over Time
Once the grout has cured, apply the sealer's final coat or coats across the whole surface, following the manufacturer's instructions. Plan to reseal honed marble roughly every six to twelve months, more often than polished marble, since its more open surface absorbs moisture and oils more readily; your sealer's manufacturer can give you a more exact interval based on the product and how much traffic the surface sees.
Sealing protects against staining, but it doesn't prevent etching, the dull spot left behind when an acid touches marble on contact. The good news with honed marble is that etching and light scratches are much less visually noticeable here than on a polished surface, since there's no shine for the damage to interrupt, which is a big part of why it's often the more worry-free choice for busy kitchens and bathrooms. Still, wipe up spills like wine, coffee, citrus juice, and tomato-based food promptly, and clean day to day with a cleaner made specifically for natural stone. Skip vinegar, bleach, ammonia, and most general-purpose kitchen or bathroom cleaners, since many are acidic. A matte surface also tends to show dust and light film more readily than a glossy one, so regular sweeping or dust-mopping will keep the floor looking its best between deeper cleans.
This guide offers general installation information for honed marble tile. Actual requirements vary by project, stone type, substrate, and location. Marble Systems is not responsible for claims resulting from these general guidelines. Always work with a qualified professional tile installer and use setting and sealing materials suited to your specific project.
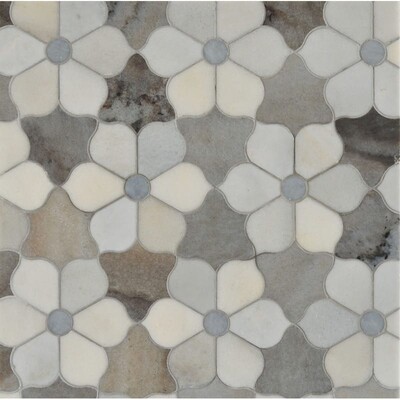
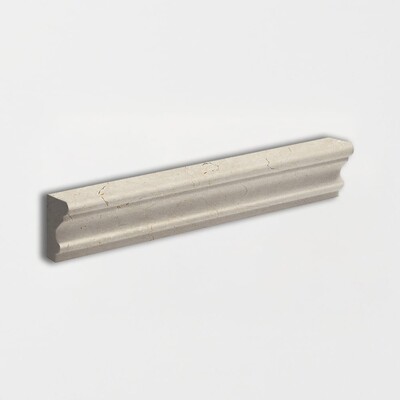
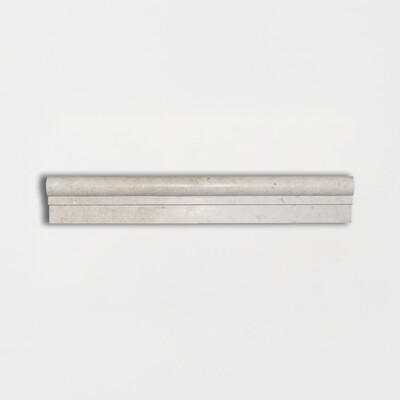
Complementary Tiles & Mosaics