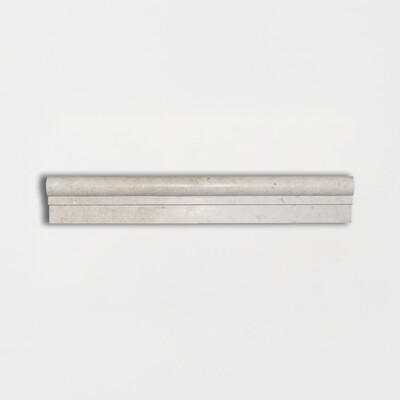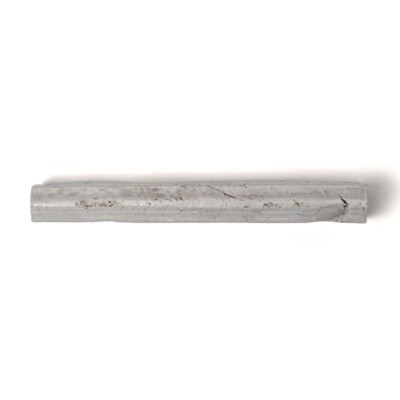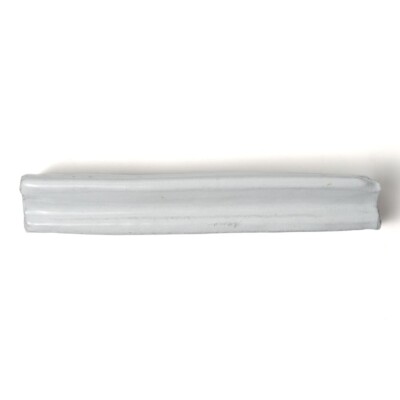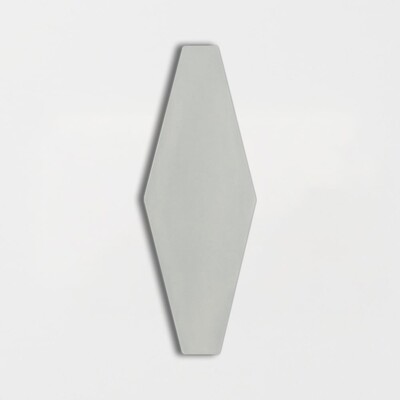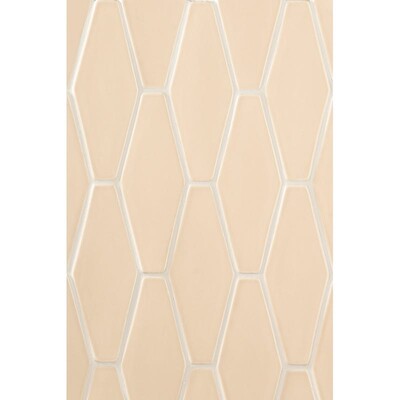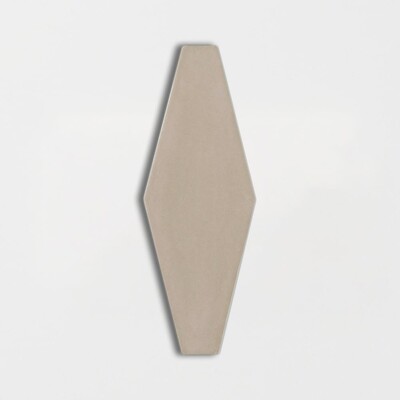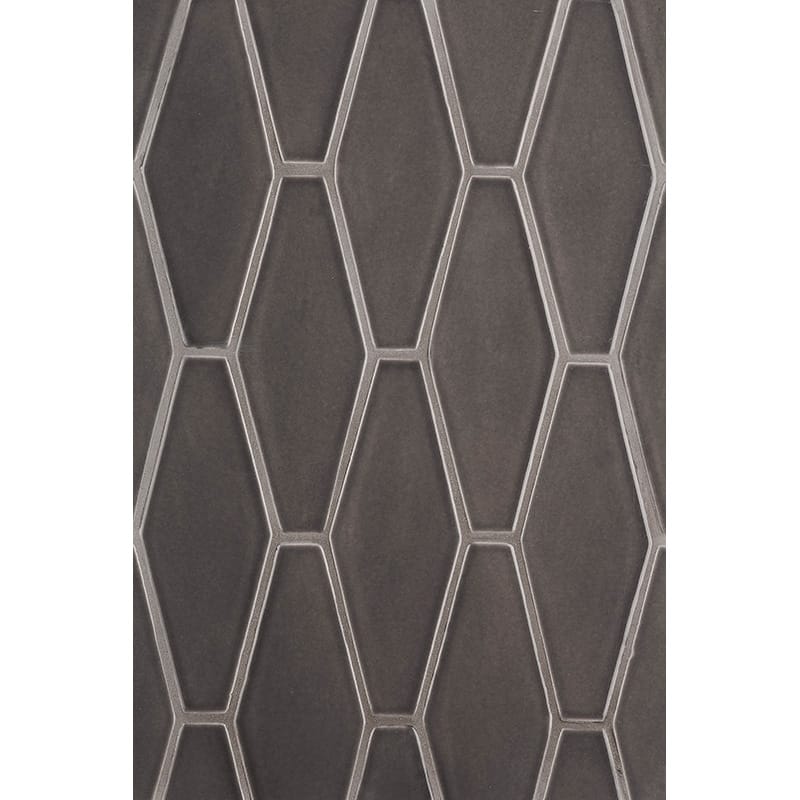
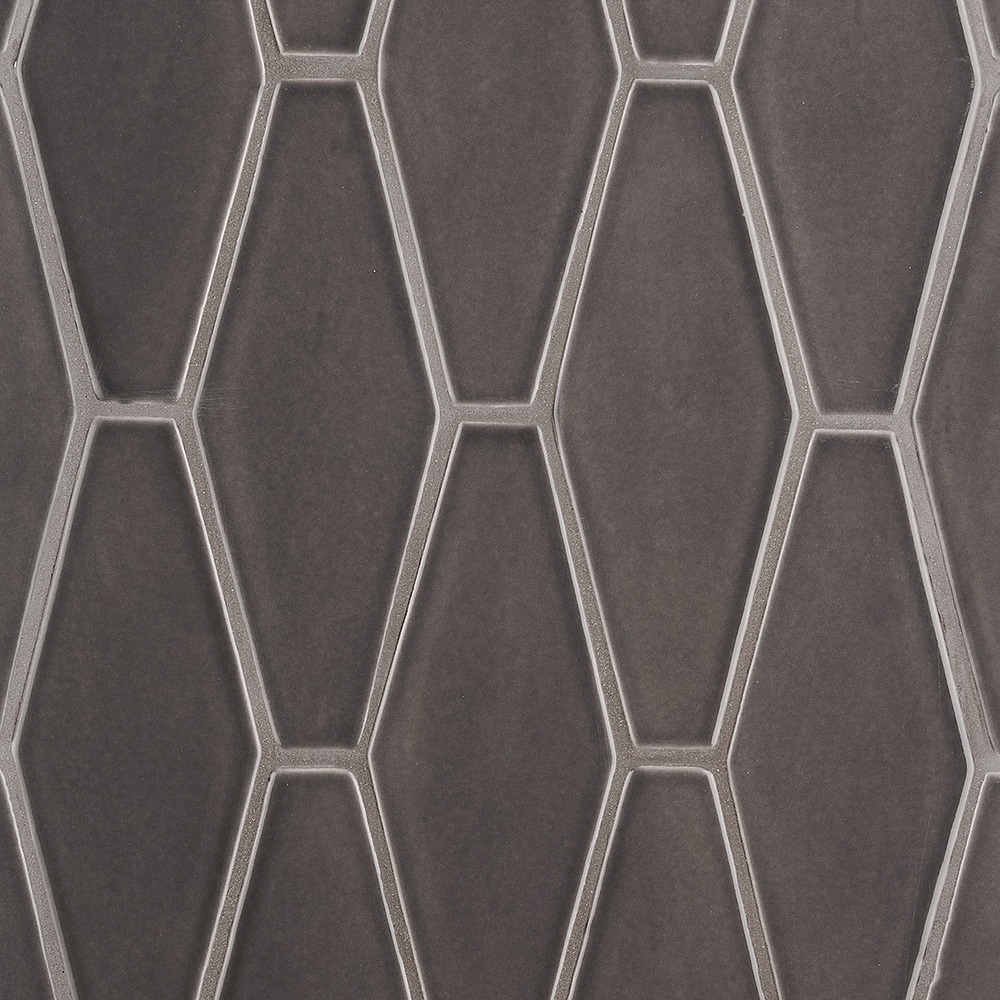

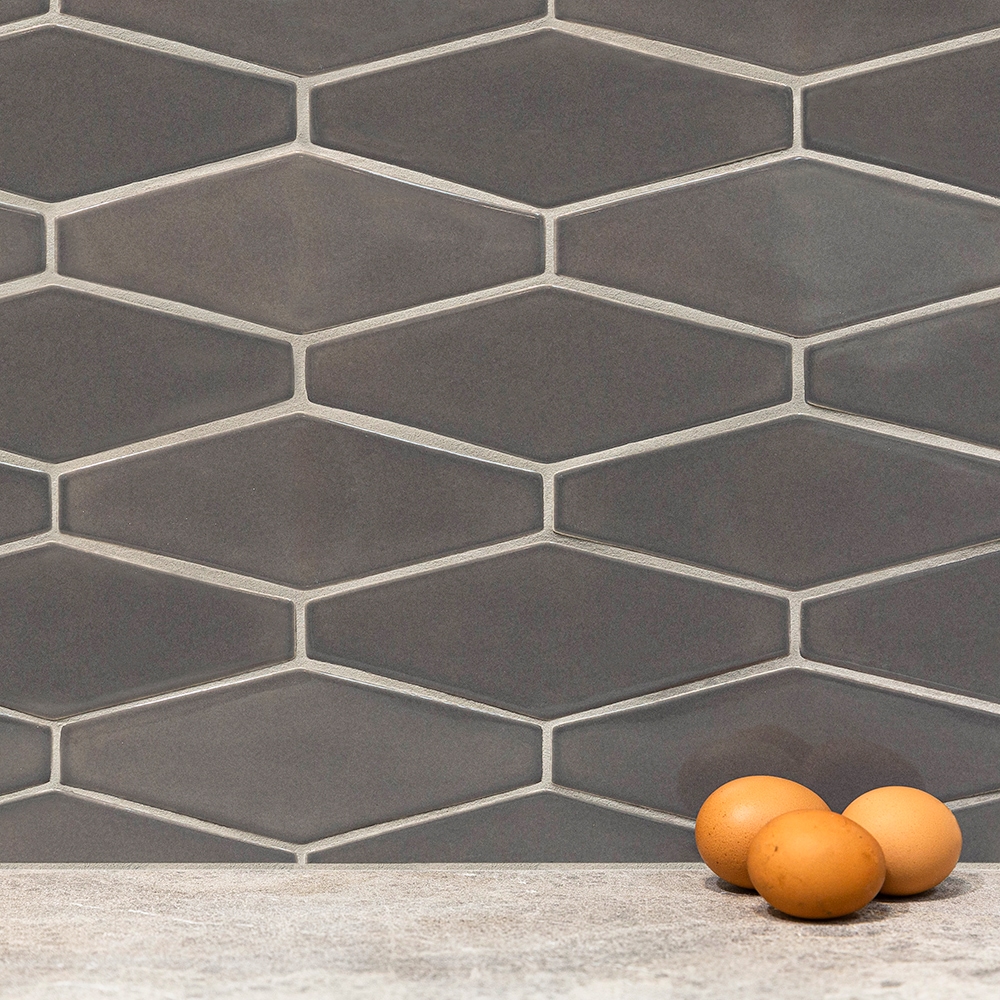
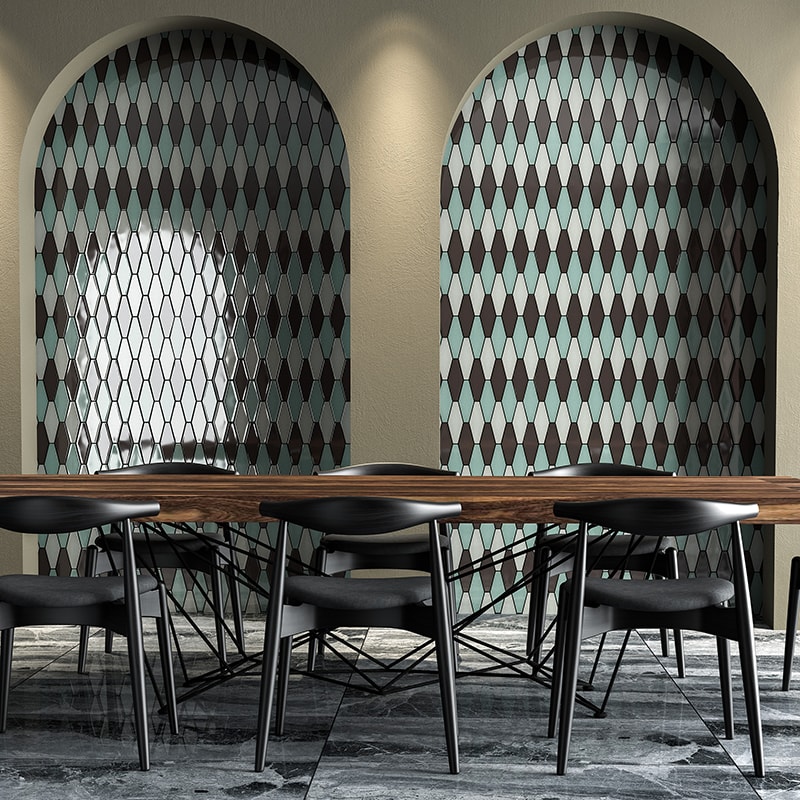
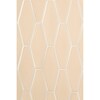
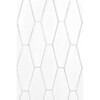
Barn Longest Hexagon Ceramic Tile 3"x7 7/8"x3/8" Glossy finish
Color & Finish Options:




Size or Shape Options:
- Sold by the box — quantity rounds up automatically.
- Est. coverage: 0.108 sqft / per piece•2.7 sqft / per box
About Barn Glossy Longest Hexagon Ceramic Tile
Renovating your home is easier than ever with Barn Glossy Longest Hexagon Ceramic Tile. From bathrooms to kitchens, you can make any location look perfect.
You can install ceramic tiles anywhere in your house, be it the interiors or exteriors. They are perfect for kitchens and bathrooms because they provide a durable surface that is easy to clean. But don't forget about foyers, mudrooms, living rooms and bedrooms! Ceramic tiles will make those spaces look even more beautiful without breaking your bank account's budget These tiles are not just durable, but also dust resistant. The surface is so hard that it makes the cleaning process easier because you can wipe off any remaining dirt with a mop or cloth easily and quickly! This means less breathing problems for those who spend their days on these floors - reducing asthma attacks significantly.
The Brown Ceramic is an elegant choice for any space. It will emphasize the beauty of your tiles while adding character to your design scheme.
For a modern and stylish look, there are many options from floor to wall tiles with matching mosaics that give your home the perfect finishing touch. The size of this product 3x7 7/8 x 3/8. You can use the site search to find a different size of this product – we've got it all!
Interior — Residential
Wet Areas
Exterior
Commercial
Before You Start
6 things to checkGet the most out of your Marble Systems glossy ceramic tile by following this guide, written specifically for our high-shine glazed ceramic collections, including subway, hexagon, picket, chevron, and other glossy shapes.
- Confirm the tile's rated use (wall, dry floor, or wet floor) on the product page before you start. A glossy glaze is generally the least slip resistant of all ceramic finishes, so glossy tile is best reserved for walls, backsplashes, and dry, low traffic floors. It is not recommended for shower floors or other wet floor areas, regardless of the tile's PEI rating.
- Order 10 to 15% extra material to cover cuts, waste, and future repairs. Ceramic tile is produced and glazed in batches, so a later reorder may not match your original lot exactly.
- Expect some natural variation in shade and gloss level from tile to tile, since this is an inherent trait of kiln fired ceramic. Mix tile from several boxes as you set, for a blended, natural looking field.
- Store cartons flat, indoors, and away from moisture or freezing temperatures until you're ready to install.
- Use a polymer modified thin set mortar formulated for ceramic tile, not a pre mixed mastic or general construction adhesive, except where a manufacturer specifically permits it for small, dry wall installations.
- Handle glossy tile with extra care while cutting and setting. Chips, scratches, and dried mortar smears show far more readily on a high shine surface than on a matte or textured one, so keep tile faces clean and protected as you work.
Confirm Where This Tile Can Go
A glossy finish changes how and where ceramic tile should be used, more than most other factors. Glazed ceramic tile is rated on the PEI scale (0 to 5) for surface abrasion resistance, but for glossy tile the more important number for floor use is DCOF (dynamic coefficient of friction), which measures wet slip resistance. Industry guidance under ANSI A326.3 calls for a wet DCOF of 0.42 or higher for interior floors expected to be walked on when wet, and a high gloss glaze typically falls short of that mark. That's why glossy tile is generally recommended for walls, backsplashes, shower walls, and dry residential floors only, and why it should be avoided on shower floors or any floor prone to standing water. Check the Usage section of your product page, and confirm suitability with your installer before using this tile on any floor.
Prepare a Flat, Clean Substrate
Because a glossy surface reflects light, any high or low spot in the substrate below it will show as a visible ridge or shadow once the tile is installed, in a way that a matte finish would hide. Tile can be installed over most structurally sound substrates that are clean, flat, dry, and free of wax, dust, grease, and other debris. Repair, patch, and level any damaged or uneven areas, and check flatness with a straightedge or level before you begin. For walls, use cement backer board or a similarly rated tile substrate in any area exposed to moisture, such as a shower or a backsplash near a sink; standard drywall is appropriate only in dry wall areas. Remove moldings, trim, and appliances that would interfere with installation, and undercut door jambs so tile can slide beneath them.
Plan the Layout
Mark the center point of opposing walls and snap chalk lines that intersect at the center of the wall or floor field, checking that they're perfectly square. Dry lay a row of loose tile with spacers along both lines to see how the cuts fall at the edges; if you'll end up with slivers narrower than half a tile, shift the layout by half a tile width to balance the field.
For a rectangular format like a 4x12 subway tile, pattern choice matters more than it might seem. A classic running bond (50% offset) looks great and is the traditional choice for subway tile, but every tile carries a small amount of natural warpage from manufacturing, and on a longer format that warpage can telegraph as lippage, an uneven edge between two adjacent tiles, especially once light hits a glossy surface. Industry guidance under ANSI A108.02 recommends a maximum one third offset for any tile with a side of 15 inches or longer. A 12 inch long tile sits just under that threshold, but because a glossy glaze shows lippage more readily than a matte one, many installers apply the same one third offset as a precaution on glossy subway tile in this size, rather than the full 50%. If you'd like to keep the classic brick look, lay out a small test section first and check it under raking light before committing to the full installation.
Choose and Mix the Right Mortar
Ceramic tile bonds best with a polymer modified thin set mortar (look for one meeting ANSI A118.4 or A118.15 performance standards); these offer better flexibility and bond strength than an unmodified, dry set mortar. Save unmodified thin set for situations where a waterproofing or crack isolation membrane manufacturer specifically calls for it. Use the trowel size recommended on your mortar's packaging for this tile size and format, typically a smaller notch for wall set subway tile and a larger one if you're setting it on a floor. Mix only what you can use in about 30 minutes, following the manufacturer's water ratio exactly; too much water weakens the bond and can also make it harder to keep excess mortar off a glossy face.
Cut the Tile
Mark cuts with a pencil or fine felt tip marker. A wet saw fitted with a continuous rim diamond blade gives the cleanest results on glossy glaze and is worth using for any cut edge that will remain visible, since a glossy finish makes chipping along a cut edge more noticeable than it would be on a matte tile. A snap or score and snap cutter can work for straight, hidden cuts, and tile nippers can chip away small notches around outlets or fixtures. Cut with the glazed face up to reduce chipping, and ease any sharp edges with a rubbing stone if needed.
Set the Tile
Spread mortar with the flat side of the trowel, then comb it into ridges with the notched side held at roughly a 45 degree angle. Don't cover your layout lines, and don't spread more mortar than you can tile within about 15 minutes. Back butter larger format tile, adding a thin layer of mortar to the tile back as well, to improve coverage and reduce hollow spots.
Set each tile with a slight push or gentle twist, not a slide, and insert spacers or leveling clips to keep joints even, especially useful on an elongated format like 4x12 subway where consistent joints and minimal lippage matter for the finished look. Leave a perimeter gap of about 1/4" between the tile field and adjoining walls or fixed surfaces to allow for natural movement. Wipe excess mortar from the tile face as you go rather than waiting until it firms up; on a glossy surface, dried mortar residue is easier to see but can also be harder to remove without a light scratch, so a quick wipe with a damp sponge as you set each section saves work later. Check the surface for lippage while the mortar is still workable, using a straightedge across joints if needed. Avoid walking on floor installations for at least 24 hours.
Grout the Joints
Wait at least 24 hours (or per your mortar's instructions) before grouting. Use sanded grout for joints of about 1/8" or wider, and unsanded grout for narrower joints; check with your grout manufacturer if you're unsure which type suits a glossy glaze, since a coarse sanded grout can occasionally mark a very soft or high shine finish during application. Mix only what you'll use within about 30 minutes.
Spread grout diagonally across the joints with a rubber float held at a 45 degree angle to pack it fully, then hold the float closer to 90 degrees to scrape excess from the tile face. Let the grout firm up for 15 to 20 minutes, then wipe the surface with a clean, damp sponge, rinsing frequently, until the joints are smooth and even. Grout haze shows up clearly on a glossy surface, particularly in strong contrast colors like a light grout against black glossy tile, so plan on a couple of extra sponge passes and a final buff with a soft, dry cloth once a light haze forms. Avoid acidic or abrasive cleaners and anything coarser than a soft cloth when removing haze from glazed tile; they can dull the gloss.
Cure and Care for the Finish
Glossy ceramic tile itself doesn't need to be sealed; the glaze is already the protective, water resistant layer. What typically does need attention is the grout: most cementitious grout benefits from a penetrating grout sealer once fully cured, generally around 2 to 3 weeks after installation, to help resist staining. Hold off on heavy foot traffic for about 72 hours after grouting, and don't apply any sealer before the grout has fully cured.
Once everything is cured, clean glossy ceramic tile with a pH neutral cleaner and a soft cloth or microfiber mop, buffing dry afterward to avoid streaking, which shows more on a reflective finish than on a matte one. Skip vinegar, bleach, and abrasive scouring pads, which can dull the gloss and scratch the glaze over time.
This guide offers general installation information for glossy ceramic tile. Actual requirements vary by project, substrate, and location. Marble Systems is not responsible for claims resulting from these general guidelines. Always work with a qualified professional tile installer and use setting materials suited to your specific project.
Complementary Tiles & Mosaics